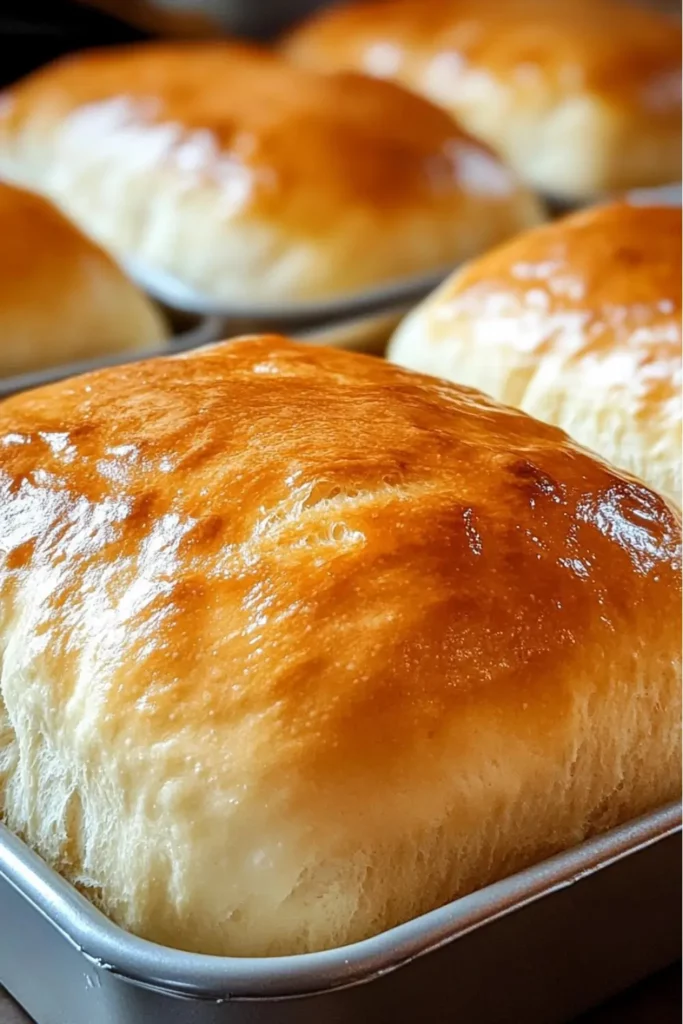
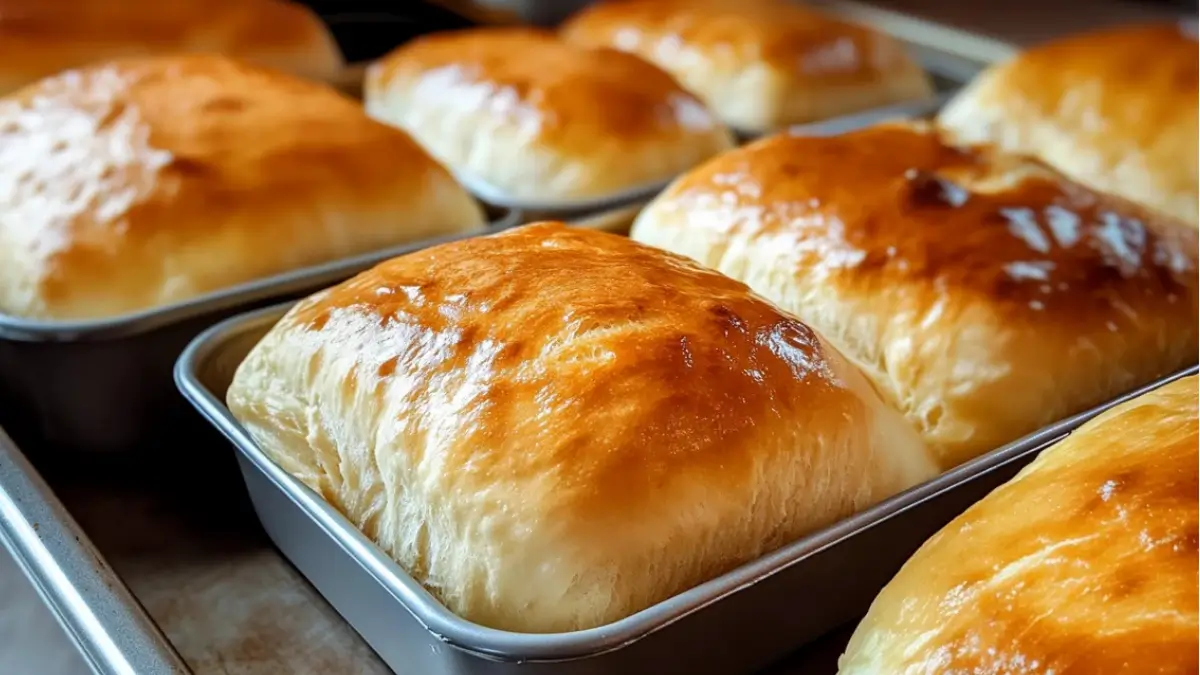
Amish White Bread isn’t just another loaf—it’s a symbol of simplicity, tradition, and wholesome goodness. This classic recipe, loved for its soft texture and slightly sweet flavor, is perfect for sandwiches, toast, or simply enjoyed warm with a pat of butter. But baking it isn’t just about following instructions; it’s about embracing the art of homemade bread. In this guide, we’ll walk you through every detail, from ingredients to baking tips, ensuring your bread turns out perfectly every time.

Table of contents
- Introduction
- What is Amish White Bread?
- Ingredients for Amish White Bread
- Step-by-Step Directions
- Tips for Perfect Amish White Bread
- Common Baking Mistakes and How to Avoid Them
- Health Benefits of Homemade Amish White Bread
- Nutritional Information
- FAQs About Amish White Bread
- Final Thoughts
- More Relevant Recipes
Introduction
In today’s fast-paced world, the art of bread-making feels almost magical. There’s something incredibly satisfying about watching simple ingredients like flour, water, and yeast transform into a warm, golden loaf. Amish White Bread is one of those timeless recipes that brings people together. Whether you’re a first-time baker or a seasoned pro, this guide will give you all the tools and tips you need to create a loaf that’s soft, fluffy, and absolutely irresistible.
What is Amish White Bread?
Amish White Bread is a traditional homemade bread recipe known for its soft texture and subtle sweetness. It’s a staple in many Amish households, made with basic ingredients that are often readily available in any kitchen. This bread is versatile, making it ideal for sandwiches, French toast, or even served as a side with hearty soups and stews.
Why is it So Popular?
- Simplicity: No complicated techniques or rare ingredients.
- Versatility: Perfect for sweet and savory dishes.
- Long-Lasting Freshness: Stays soft for days when stored properly.
Ingredients for Amish White Bread
The ingredients are simple yet essential to achieving the perfect loaf. Here’s what you’ll need:
- Warm water (for yeast activation)
- White sugar (for sweetness and yeast nourishment)
- Active dry yeast (the heart of any good bread)
- Salt (to enhance flavor)
- Vegetable oil (for moisture and softness)
- All-purpose flour (the foundation of your bread)
Each ingredient serves a purpose. For instance, sugar helps feed the yeast, while oil keeps the bread soft and tender.
Step-by-Step Directions
1. Activate the Yeast
Start by dissolving sugar in warm water, then sprinkle in the active dry yeast. Let it sit for about 5-10 minutes until it becomes frothy.
2. Mix the Dough
Add salt and vegetable oil to the yeast mixture. Gradually mix in the flour, one cup at a time, until the dough starts to pull away from the sides of the bowl.
3. Knead the Dough
Turn the dough onto a floured surface and knead it for 8-10 minutes. You’ll know it’s ready when it feels smooth and elastic.
4. First Rise
Place the dough in a greased bowl, cover it with a kitchen towel, and let it rise for about an hour or until it has doubled in size.
5. Shape the Loaves
Punch down the dough, divide it into two equal portions, and shape each into a loaf. Place them into greased loaf pans.
6. Second Rise
Let the loaves rise again for about 30 minutes, or until they rise just above the edges of the pans.
7. Bake
Preheat your oven to 350°F (175°C) and bake the loaves for about 30 minutes, or until they turn golden brown.
8. Cool and Serve
Let the loaves cool on a wire rack before slicing and serving.
Tips for Perfect Amish White Bread
- Temperature Control: Use warm (not hot) water to activate the yeast.
- Measure Accurately: Too much flour can make the bread dense.
- Kneading is Key: Proper kneading develops the gluten structure.
- Patience During Rising: Don’t rush the rising process; it’s crucial for texture.
- Storage: Store in an airtight container to keep it fresh longer.
Common Baking Mistakes and How to Avoid Them
1. Yeast Didn’t Activate Properly
- Make sure the water is warm, not hot.
2. Dense Bread
- Avoid adding too much flour.
- Knead thoroughly to develop gluten.
3. Bread Didn’t Rise
- Check that your yeast is fresh.
4. Over-Baking
- Keep an eye on the color; golden brown is your cue.
Health Benefits of Homemade Amish White Bread
Making Amish White Bread at home ensures you know exactly what’s in your bread. Unlike store-bought varieties, it contains no preservatives or artificial additives.
Health Benefits:
- Lower in sodium and preservatives.
- Freshly baked, reducing processed additives.
- Rich in carbohydrates for energy.
- Customizable to include healthier alternatives like whole grain flour.
Nutritional Information
| Nutrient | Amount Per Serving |
|---|---|
| Serving: | 1 slice |
| Calories: | 150 |
| Carbs: | 28g |
| Protein: | 4g |
| Fat: | 3g |
| Saturated Fat: | 0.5g |
| Cholesterol: | 0mg |
| Sodium: | 200mg |
| Fiber: | 1g |
| Sugar: | 3g |
| Calcium: | 1% |
| Iron: | 10% |
FAQs About Amish White Bread
Yes! Slice the bread before freezing for easier use.
Stored properly, it can last up to 5 days.
Absolutely! Add herbs, seeds, or cinnamon for variety.
Yes, this recipe is naturally vegan.
Final Thoughts
Baking Amish White Bread isn’t just about making food—it’s about creating memories. Whether you’re serving it fresh with homemade jam or using it for a hearty sandwich, this bread brings warmth and comfort to every bite.
So, roll up your sleeves, preheat that oven, and start baking. There’s nothing quite like the satisfaction of slicing into a loaf of bread you made with your own two hands. Happy baking!
More Relevant Recipes
Print
Amish White Bread
- Total Time: 2 hours (including rising time)
- Yield: 2 loaves
Description
Amish White Bread is a classic homemade bread recipe known for its soft texture, slight sweetness, and versatility. Perfect for sandwiches, toast, or served warm with butter, this recipe is easy to follow and delivers consistently delicious results every time.
Ingredients
- 2 cups warm water (110°F or 45°C)
- 2/3 cup white sugar
- 1 1/2 tablespoons active dry yeast
- 1 1/2 teaspoons salt
- 1/4 cup vegetable oil
- 6 cups all-purpose flour
Instructions
- Activate the Yeast: Getting started is easy! Begin by dissolving sugar in warm water—this helps wake up the yeast. Sprinkle the yeast over the water and give it a gentle stir. Within minutes, you’ll notice it bubbling and frothing. This is your yeast coming to life, ready to work its magic!
- Mix the Dough: Next, mix in salt and vegetable oil for flavor and moisture. Gradually add the flour, one cup at a time, mixing well after each addition. Before you know it, the dough will come together, forming a soft, slightly sticky ball. Resist the urge to overdo the flour—it’s what keeps the bread tender.
- Knead the Dough: Now for the fun part! Transfer the dough onto a floured surface and knead it with love. Push, fold, and stretch it for about 8-10 minutes until it becomes smooth and elastic. Kneading develops the gluten, giving the bread its signature chewy texture.
- First Rise: Place your well-kneaded dough in a greased bowl, turning it to coat all sides. Cover the bowl with a clean kitchen towel and let it rest in a warm spot. In about an hour, the dough will double in size, like a cozy balloon of potential.
- Shape the Dough: Punch down the dough to release air bubbles, then divide it into two equal portions. Shape each portion into a loaf, tucking the edges under for a neat finish. Place the dough into greased loaf pans, ready for their second rise.
- Second Rise: Cover the pans and allow the dough to rise again. Within 30 minutes, the loaves will puff up just above the edges of the pans, signaling they’re ready for the oven.
- Bake to Perfection: Preheat your oven to 350°F (175°C) and bake the loaves for about 30 minutes. The tops should turn a beautiful golden brown, and your kitchen will be filled with an irresistible aroma. Tap the loaves gently—if they sound hollow, they’re done!
- Cool and Enjoy: Once baked, carefully remove the loaves from their pans and let them cool on a wire rack. This step is crucial to prevent soggy bottoms. Slice, serve, and relish the fruits of your labor!
Notes
- Be patient: Bread making is an art that thrives on patience. Each rise is essential for a soft and airy texture.
- Don’t skimp on kneading: Kneading activates gluten, ensuring a perfect crumb.
- Test your yeast: If your yeast doesn’t foam during activation, it might be expired. Start over with fresh yeast.
- Storage: Store cooled loaves in a bread bag or airtight container for up to 3 days, or freeze for longer shelf life.
- Customization: Add a personal touch! Sprinkle in seeds, herbs, or even a touch of honey for variety.
- Prep Time: 20 minutes
- Cook Time: 30 minutes
- Category: Bread
- Method: Baking
- Cuisine: Amish, American
Nutrition
- Serving Size: 1 slice
- Calories: 150 kcal
- Sugar: 3g
- Sodium: 200mg
- Fat: 3g
- Saturated Fat: 0.5g
- Unsaturated Fat: 2.5g
- Trans Fat: 0g
- Carbohydrates: 28g
- Fiber: 1g
- Protein: 4g
- Cholesterol: 0mg

