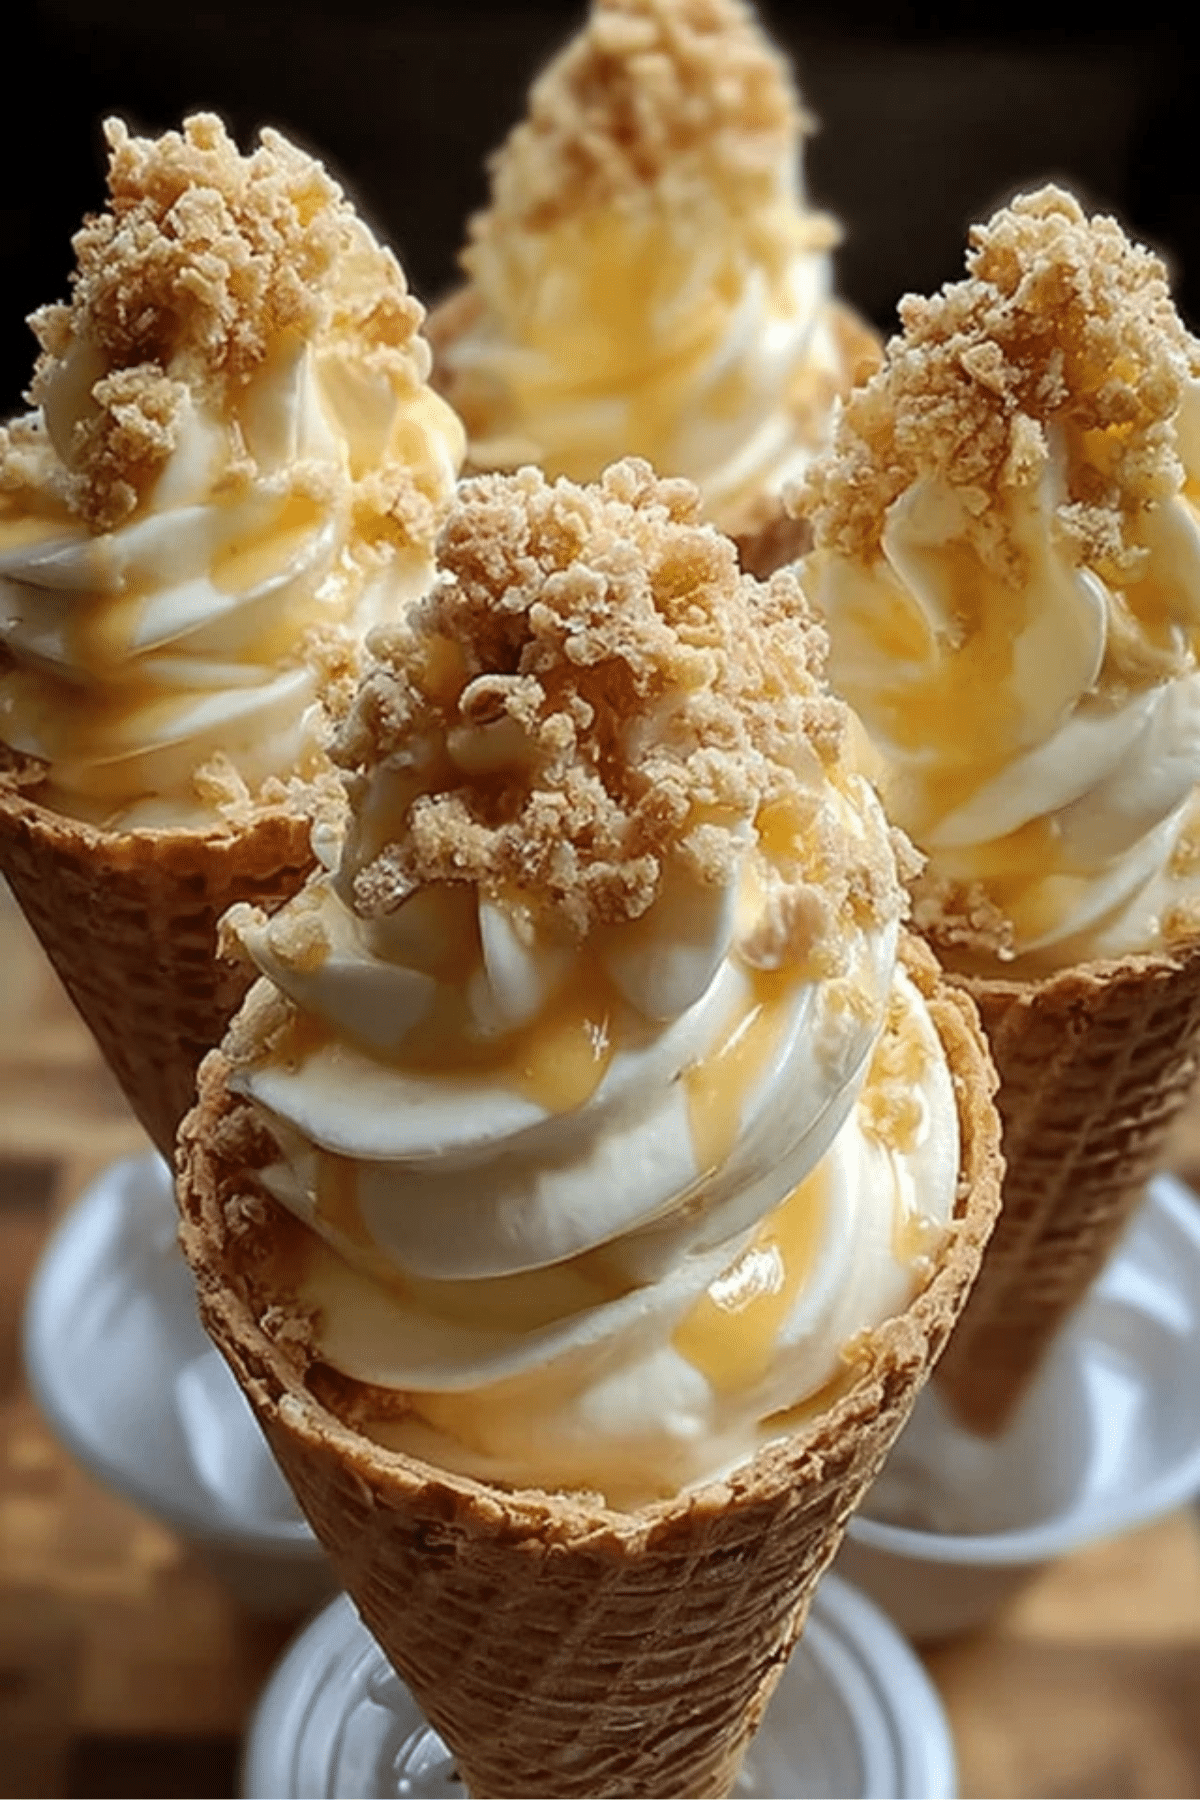
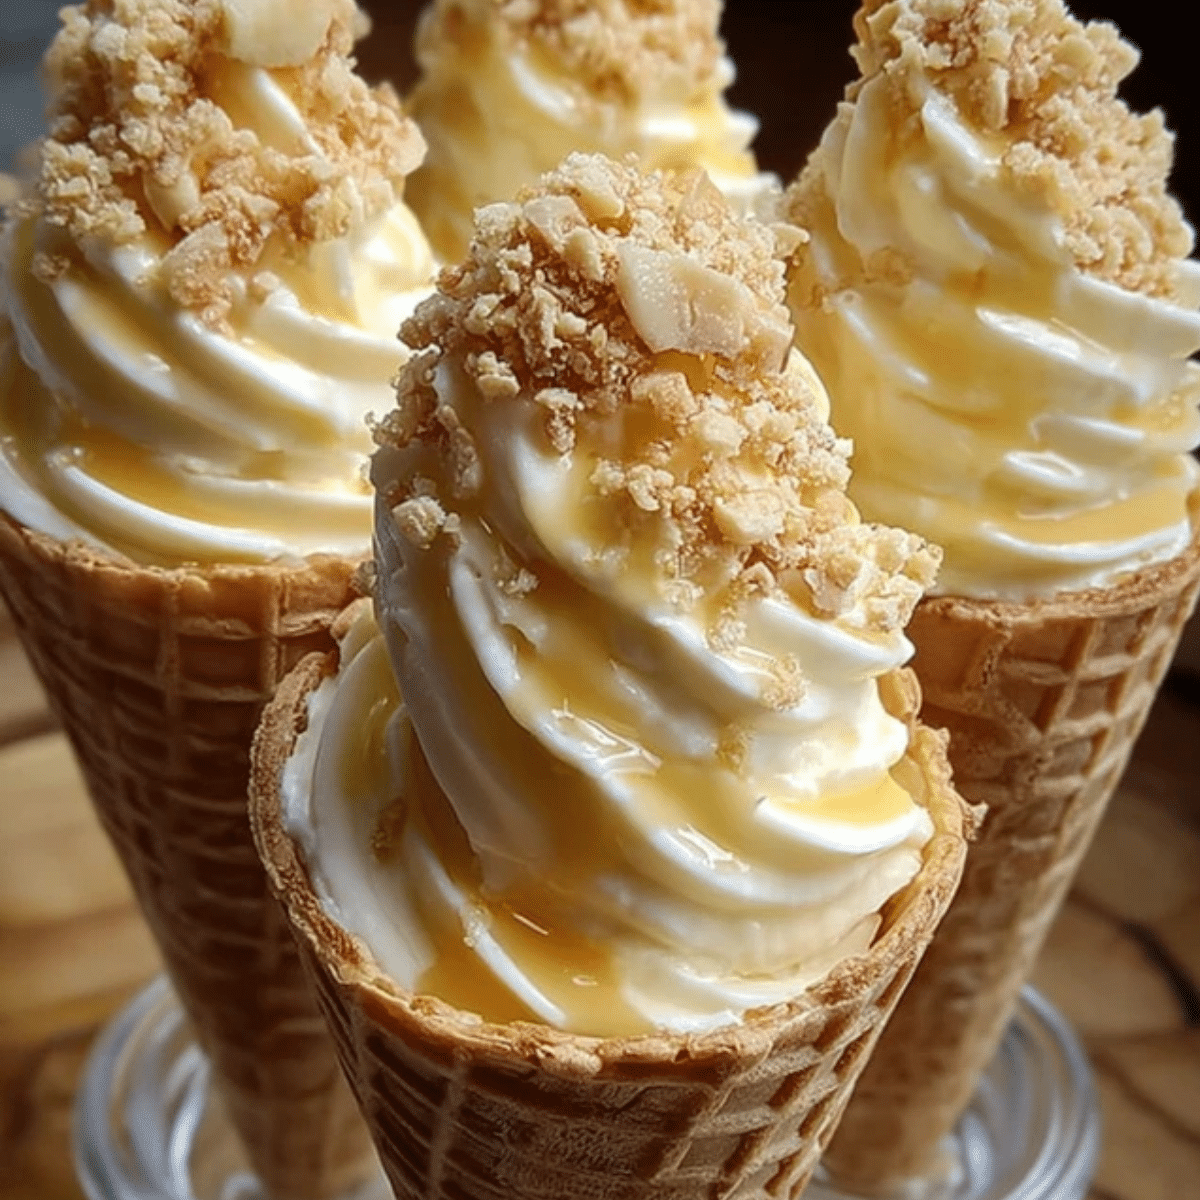
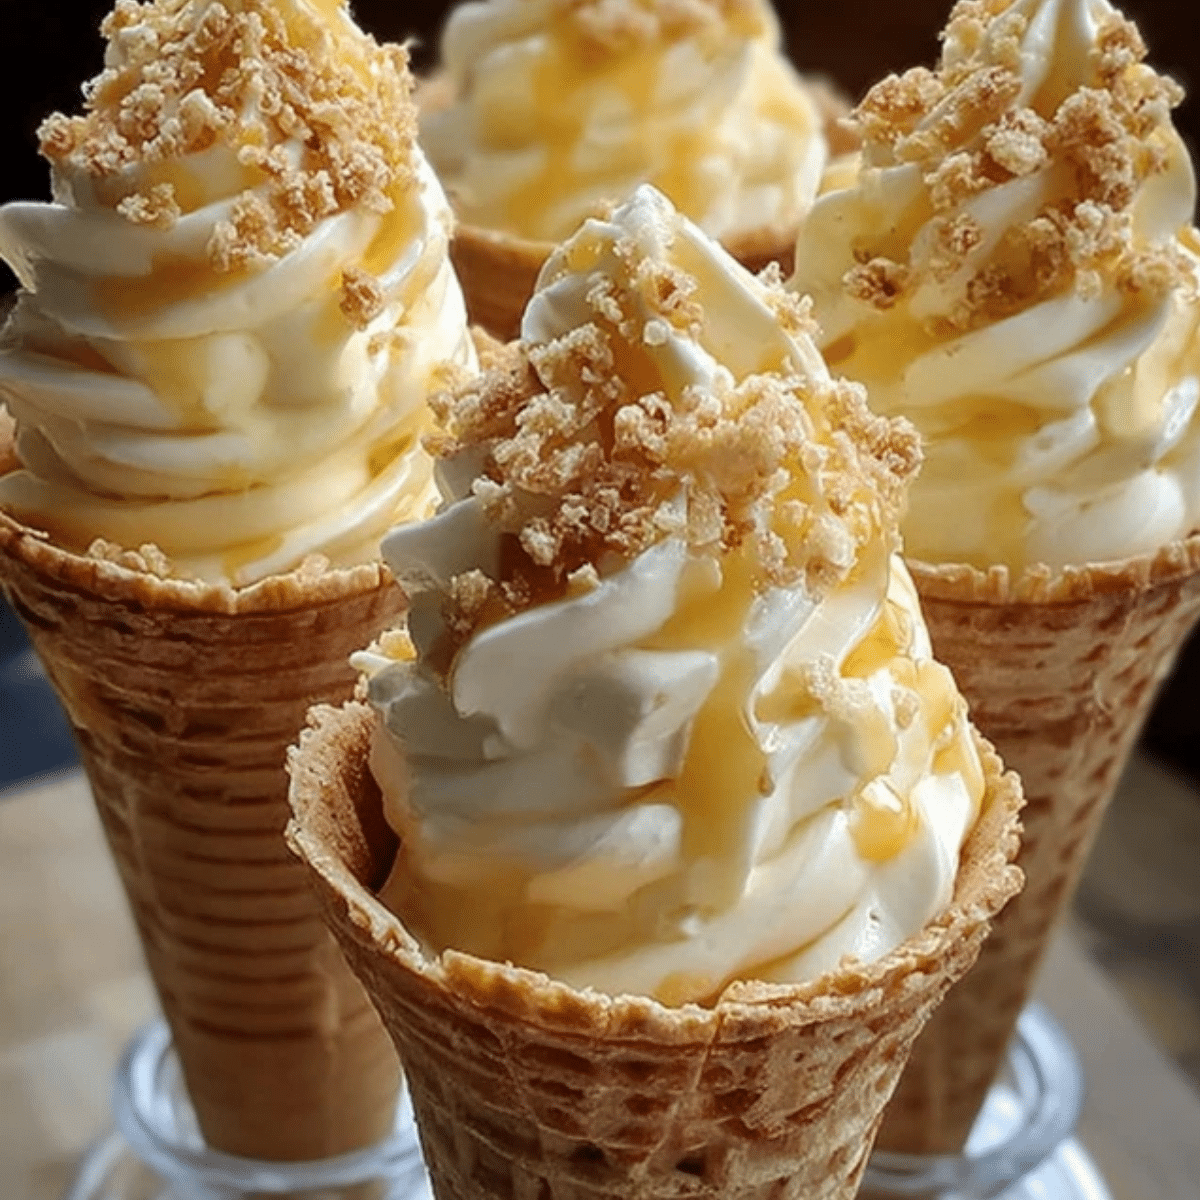
Banana pudding and cheesecake are two classic desserts that everyone loves, but have you ever thought about combining them into one delicious treat? Banana Pudding Cheesecake Cones are the perfect way to enjoy these two desserts in a fun, portable format. Whether for a summer party, a family gathering, or just because, these cones offer the rich, creamy goodness of cheesecake and the nostalgic flavor of banana pudding in every bite. Plus, they’re a no-bake dessert, making them incredibly easy to prepare!
Table of Contents
Why You’ll Love These Banana Pudding Cheesecake Cones
These Banana Pudding Cheesecake Cones are not just delicious, but they are also incredibly convenient. You don’t need plates or forks, making them a great choice for outdoor gatherings, kids’ parties, or potlucks. The combination of creamy cheesecake filling, instant banana pudding, and crunchy vanilla wafers creates a delightful texture in every bite. They also require minimal effort, making them a go-to dessert that looks impressive but comes together in no time.
Ingredients for Banana Pudding Cheesecake Cones
Here’s what you’ll need to make these delightful cones:
• Cream Cheese: Adds a rich, creamy texture to the cheesecake filling.
• Powdered Sugar: Sweetens the cheesecake filling and helps create a silky texture.
• Vanilla Extract: Enhances the flavor of the cheesecake filling.
• Heavy Whipping Cream: Whipped to stiff peaks, this adds airiness to the cheesecake filling.
• Instant Banana Pudding Mix: Gives the dessert its signature banana pudding flavor without the hassle of cooking.
• Cold Milk: Needed to make the banana pudding.
• Waffle Cones: The perfect vessel for this handheld dessert.
• Crushed Vanilla Wafers: These provide the essential crunch and classic banana pudding flavor.
• Caramel Sauce or Sweetened Condensed Milk: For drizzling on top for an added touch of sweetness.
• Extra Crushed Vanilla Wafers: For sprinkling on top, giving a crunchy finish.
Alternative Ingredient Suggestions
If you’re looking to change up the ingredients, here are a few ideas:
• Chocolate Waffle Cones: Swap out the regular waffle cones for chocolate cones for a delicious chocolate-banana twist.
• Coconut Extract: Add a teaspoon to the cheesecake filling for a tropical flair.
• Gingersnap Crumbs: In place of vanilla wafers for a spicier flavor.
• Pumpkin Pudding Mix: For a seasonal twist, swap the banana pudding for pumpkin pudding.

Step-by-Step Instructions for Banana Pudding Cheesecake Cones
- Prepare Your Workspace: Set up a cone holder or place the cones in glasses to keep them upright while you fill them. Ensure your ingredients are prepped and ready for assembly.
- Make the Cheesecake Base: Beat the softened cream cheese with powdered sugar and vanilla extract until smooth and fluffy. Fold in the whipped heavy cream gently to keep the texture light. Transfer the mixture to a piping bag.
- Prepare the Banana Pudding Layer: Whisk the banana pudding mix with cold milk until it thickens, about 5 minutes. Set aside to allow it to firm up slightly.
- Assemble the Cones: Start by adding a layer of crushed vanilla wafers into the bottom of each cone. Then pipe in alternating layers of cheesecake filling and banana pudding. Repeat until the cone is filled.
- Top with More Cheesecake Filling: Pipe a swirl of cheesecake filling on top of each cone, then drizzle with caramel sauce or sweetened condensed milk. Sprinkle additional crushed vanilla wafers for crunch.
- Chill: Place the cones in the refrigerator for at least 15 minutes before serving to let the layers set.
Tips & Tricks for Perfect Banana Pudding Cheesecake Cones
- Prevent Soggy Cones: To keep the cones from getting soggy, start by adding a layer of crushed vanilla wafers at the bottom of each cone. You can also brush the inside of the cones with melted white chocolate before filling them to create a moisture barrier.
- Whip the Heavy Cream Well: Be sure to whip the heavy cream to stiff peaks for the best texture. If it’s not whipped enough, the cheesecake mixture might be too runny.
- Use Fresh Bananas: If you’re serving these right away, add fresh banana slices between the layers for extra flavor and texture. However, avoid using bananas if you plan on making these in advance, as they will brown.
Pairing Ideas and Variations for Banana Pudding Cheesecake Cones
These cones are perfect on their own, but they also pair wonderfully with:
- A Toppings Bar: Set up a toppings bar with sprinkles, mini chocolate chips, or whipped cream for a customizable dessert experience.
- Tropical Twist: Add a teaspoon of coconut extract to the cheesecake filling and top with toasted coconut flakes for a tropical variation.
- Chocolate Banana Twist: Use chocolate waffle cones for a chocolate-banana combination. You can even drizzle the cones with melted chocolate for an extra indulgent treat.
Seasonal and Cultural Touches
While these Banana Pudding Cheesecake Cones are perfect for summer, they can also be adapted for fall. Try swapping the banana pudding for pumpkin pudding and using gingersnap crumbs instead of vanilla wafers for a seasonal version.

Conclusion
Banana Pudding Cheesecake Cones are a perfect fusion of two beloved desserts, offering a delicious, fun, and portable way to indulge in creamy cheesecake and classic banana pudding. Whether you’re hosting a summer gathering, a party, or simply enjoying a weekend treat, these cones are guaranteed to be a hit. With a balance of textures from the creamy filling, banana pudding, and crunchy vanilla wafers, every bite brings back fond memories of a nostalgic favorite, while adding a new twist that everyone will love. Best of all, this no-bake treat is incredibly easy to make, so you can focus on enjoying your time with friends and family rather than stressing over complicated recipes.
Frequently Asked Questions
Can I make Banana Pudding Cheesecake Cones ahead of time?
Yes! You can prepare the components (cheesecake filling, banana pudding, and crushed wafers) up to 24 hours in advance and store them separately in the refrigerator. However, it’s best to assemble the cones just before serving to prevent the cones from becoming soggy. If needed, assemble them 1-2 hours before serving for optimal freshness and texture.
How do I prevent the cones from getting soggy?
To prevent sogginess, start by adding a layer of crushed vanilla wafers at the bottom of each cone. You can also brush the inside of the cones with melted white chocolate before filling them, which creates a moisture barrier to keep the cones crispy.
Can I use real bananas in these cones?
Absolutely! Fresh banana slices can be added between the layers of cheesecake filling and banana pudding for added flavor and texture. Just be mindful that bananas will brown over time, so it’s best to add them right before serving.
What if I don’t have waffle cones?
If you don’t have waffle cones, you can serve the dessert in small cups, ice cream bowls, or even sugar cones. The dessert will still be just as delicious, though you’ll miss the crispy crunch of the waffle cone.
More Relevant Recipes
Print
Banana Pudding Cheesecake Cones
- Total Time: 15 minutes (plus chilling time)
- Yield: 8 servings
- Diet: Vegetarian
Description
Banana Pudding Cheesecake Cones combine two beloved desserts in a fun, portable format. Creamy cheesecake filling and banana pudding are layered in a crunchy waffle cone, topped with caramel or sweetened condensed milk and crushed vanilla wafers, making this a perfect no-bake treat for summer gatherings, parties, or family get-togethers.
Ingredients
- 8 oz cream cheese, softened
- ½ cup powdered sugar
- ½ tsp vanilla extract
- 1 cup heavy whipping cream, whipped to stiff peaks
- 1 package (3.4 oz) instant banana pudding mix
- 2 cups cold milk
- 8 waffle cones
- ½ cup crushed vanilla wafers
- Caramel sauce or sweetened condensed milk for drizzling
- Extra crushed vanilla wafers for topping
Instructions
- Beat the cream cheese, powdered sugar, and vanilla extract in a bowl until smooth. Gently fold in the whipped cream until fully combined. Transfer to a piping bag.
- Whisk the banana pudding mix and cold milk together in a separate bowl until it thickens. Refrigerate for 5 minutes.
- Sprinkle a layer of crushed vanilla wafers into the bottom of each waffle cone. Pipe in alternating layers of the cheesecake filling and banana pudding until the cone is filled.
- Pipe a swirl of cheesecake filling on top of each cone. Drizzle with caramel sauce or sweetened condensed milk. Sprinkle extra crushed vanilla wafers over the top.
- Chill the cones for at least 15 minutes before serving to allow the layers to set.
Notes
- To prevent soggy cones, add a layer of crushed vanilla wafers at the bottom of each cone.
- Brush the inside of the cones with melted white chocolate to create a moisture barrier if making them ahead of time.
- Fresh banana slices can be added between the layers for extra flavor, but they will brown quickly.
- For a tropical twist, add coconut extract to the cheesecake filling.
- Prep Time: 15 minutes
- Cook Time: 0 minutes
- Category: Dessert
- Method: No-Bake
- Cuisine: American
Nutrition
- Serving Size: 1 cone
- Calories: 385
- Sugar: 31g
- Sodium: 180mg
- Fat: 22g
- Saturated Fat: 12g
- Unsaturated Fat: 7g
- Trans Fat: 0g
- Carbohydrates: 44g
- Fiber: 2g
- Protein: 5g
- Cholesterol: 70mg

