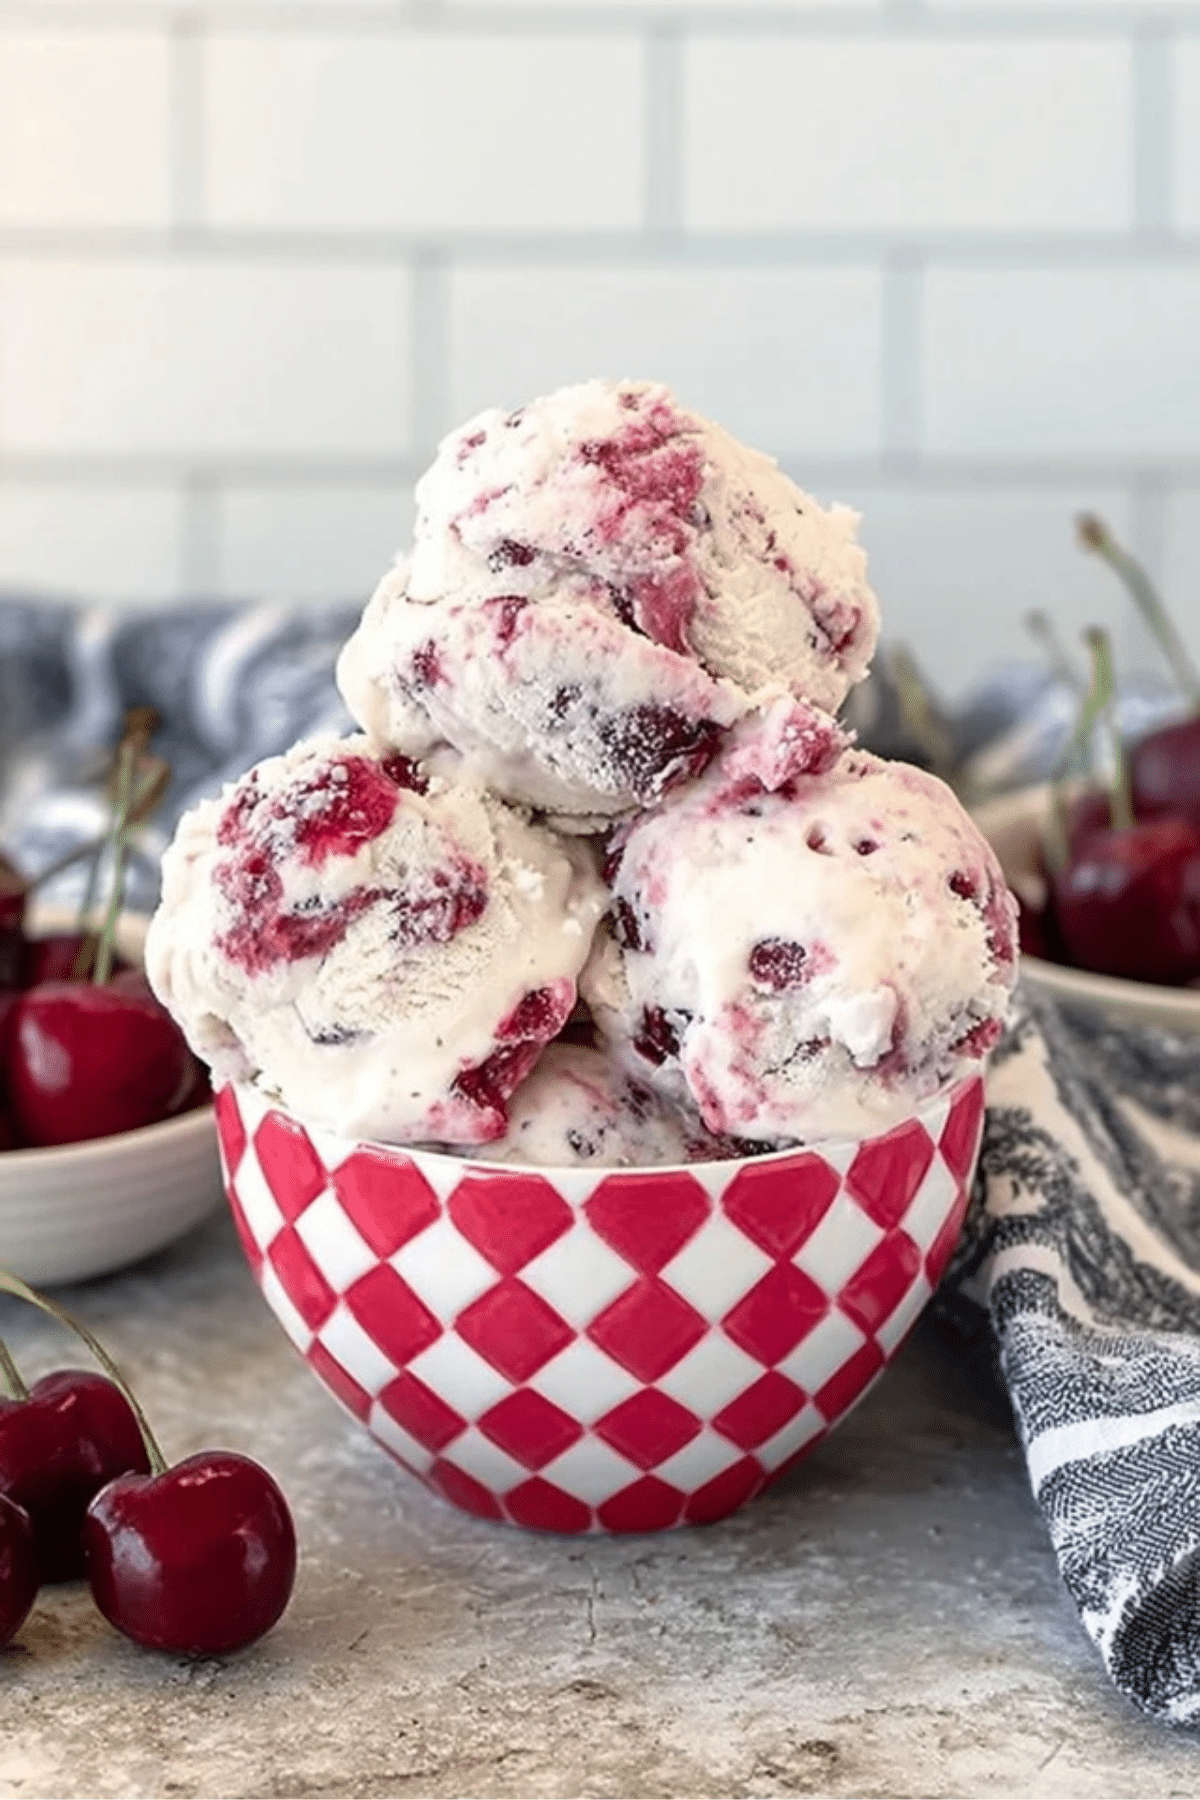
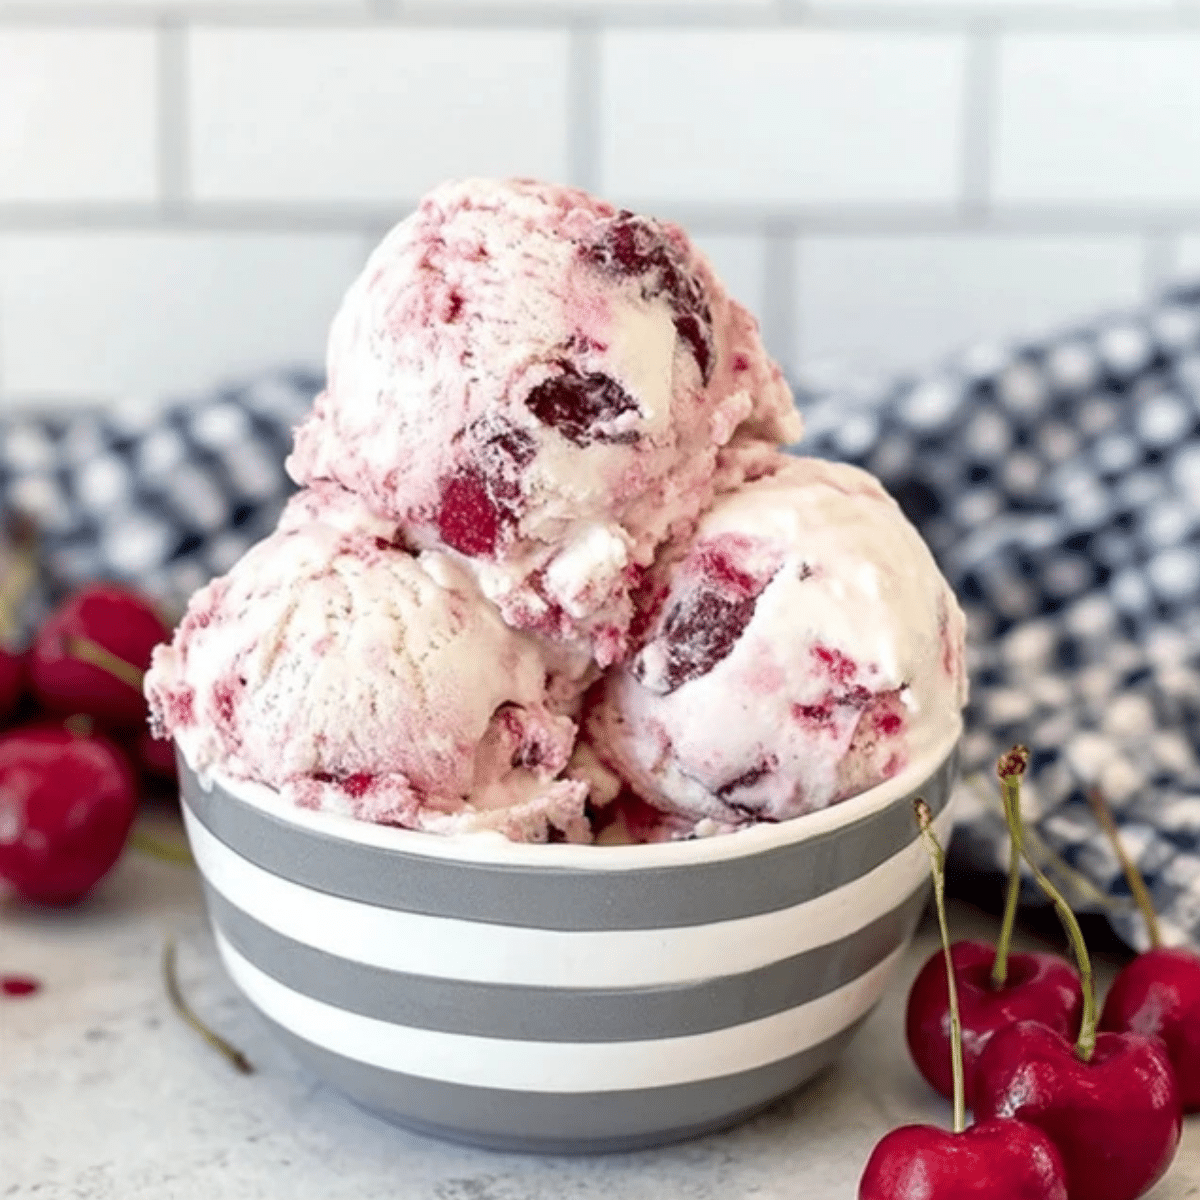
Cool down this summer with a bowl of creamy Cherry Vanilla Ice Cream! This homemade treat combines rich vanilla ice cream with sweet cherry filling and decadent chocolate chunks, creating the perfect balance of flavors. Ideal for those warm days when you crave a refreshing yet indulgent dessert, this Cherry Vanilla Ice Cream is not only easy to make but also a family favorite.
Table of Contents
Why You’ll Love This Cherry Vanilla Ice Cream Recipe
This Cherry Vanilla Ice Cream recipe stands out for several reasons. First, it’s incredibly simple to make with no need for eggs or cooking. The fresh cherry filling adds a delightful swirl of sweetness, while the chocolate chunks bring a satisfying crunch. This ice cream is a perfect blend of creamy, fruity, and chocolatey goodness, making it a treat for all ages. Plus, it’s made with only a handful of basic ingredients that you likely already have at home!
Ingredients
To make this indulgent Cherry Vanilla Ice Cream, you’ll need the following ingredients:
- Fresh Cherries: Adds a natural sweetness and juicy texture to the ice cream.
- Granulated Sugar: Sweetens both the cherry filling and vanilla ice cream base.
- Cornstarch: Helps thicken the cherry filling for a smooth texture.
- Heavy Whipping Cream: Provides a rich and creamy base for the ice cream.
- Whole Milk: Enhances the creaminess and smooth texture of the ice cream.
- Vanilla Extract: Brings in a rich, aromatic flavor to the ice cream.
- Sea Salt: Balances out the sweetness of the ice cream.
- Chocolate Candy Bars: Adds a crunchy element (optional, but highly recommended!).
Alternative Ingredient Suggestions
If you’re looking for alternatives or don’t have certain ingredients on hand, here are a few swaps:
- Non-Dairy Milk: Swap whole milk for coconut milk or almond milk for a dairy-free version.
- Frozen Cherries: Use frozen cherries if fresh ones aren’t available, though fresh is always best for flavor.
- Sugar Substitutes: Use a sugar alternative like Stevia or monk fruit for a lower-calorie version of this ice cream.
Step-by-Step Instructions
Making Cherry Vanilla Ice Cream at home is easy, and the process is broken down into a few simple steps.
- Prepare the Cherry Filling:
Pit and halve the fresh cherries. In a saucepan, combine the cherries with sugar, water, and cornstarch. Stir and heat the mixture on medium for about 8-10 minutes until it thickens. Remove from heat and allow it to cool before refrigerating until chilled. - Make the Vanilla Ice Cream Base:
In a large bowl, whisk together the heavy cream, whole milk, granulated sugar, vanilla extract, and a pinch of sea salt until the sugar is fully dissolved. This will be your smooth and creamy vanilla base. - Churn the Ice Cream:
Pour the ice cream base into your ice cream maker. Follow the manufacturer’s instructions and churn for 20-30 minutes, or until the mixture begins to thicken. As the ice cream starts to set, slowly add the chocolate chunks while churning. - Layer the Ice Cream and Cherry Filling:
Once the ice cream reaches the right consistency, begin layering the ice cream and cherry filling in a container. Add a layer of ice cream, followed by a spoonful of cherry filling, and repeat this process two more times to get a beautiful swirl effect. - Freeze and Serve:
Press a piece of wax paper onto the surface of the ice cream to prevent air exposure, which can cause ice crystals. Cover tightly with plastic wrap or a lid and place in the freezer for 2-3 hours, or until the ice cream reaches your desired consistency.

Tips & Tricks
To make your Cherry Vanilla Ice Cream even better, here are some helpful tips:
- Pre-cool your ice cream bowl: If you’re using an ice cream maker with a freezer bowl, make sure to freeze it 24 hours before making the ice cream. This will help achieve a smoother, creamier texture.
- Store the Ice Cream Properly: To keep your homemade ice cream from becoming too icy, cover it with parchment or wax paper before sealing it in a container. This protects the ice cream from freezer burn and keeps it smooth.
- Customize the Texture: If you prefer chunkier ice cream, add more chocolate pieces or even crushed cookies during the churning phase.
Pairing Ideas and Variations
Cherry Vanilla Ice Cream pairs beautifully with a variety of sides and toppings. Here are a few ideas:
- Side Dishes: Serve with a warm slice of chocolate cake, pie, or even fresh fruit for a delightful contrast to the cool, creamy texture.
- Sauces: Drizzle some hot fudge or caramel sauce over the top for an extra layer of indulgence.
- Variations: For a twist, try adding a bit of almond extract to the vanilla base or mixing in crushed nuts like pistachios for added crunch.
Health Benefits and Seasonal Notes
While homemade Cherry Vanilla Ice Cream is a delicious treat, it’s also a fun way to enjoy fresh, seasonal cherries during summer. Cherries are rich in antioxidants, which are great for reducing inflammation and improving overall health. Making ice cream at home also allows you to control the ingredients, making it a healthier option than store-bought varieties that may contain artificial additives.
Conclusion
This Cherry Vanilla Ice Cream recipe is the perfect way to enjoy a homemade frozen treat that’s both indulgent and refreshing. With its creamy vanilla base, luscious cherry filling, and optional chocolate chunks, this dessert is sure to be a family favorite. It’s incredibly easy to make, so you can enjoy a decadent ice cream experience without the hassle of complicated recipes. Whether you’re looking for a cool summer treat or a special dessert for any occasion, this Cherry Vanilla Ice Cream has you covered. Enjoy the delicious combination of flavors and impress your friends and family with this homemade masterpiece!
Frequently Asked Questions (FAQ)
Can I use frozen cherries instead of fresh ones?
Yes, you can definitely use frozen cherries if fresh ones aren’t available. Just make sure to thaw them before preparing the cherry filling. Keep in mind that fresh cherries tend to have a brighter flavor and better texture, but frozen cherries will still work well in this recipe.
How can I make this recipe dairy-free?
To make this Cherry Vanilla Ice Cream dairy-free, simply swap the heavy cream and whole milk with coconut cream and almond milk, respectively. You can also use a dairy-free vanilla extract to maintain the flavor.
What can I add to customize the flavor of this ice cream?
There are plenty of ways to make this Cherry Vanilla Ice Cream your own! Try adding crushed cookies, brownie bits, or even a swirl of caramel sauce. For an extra touch of sweetness, mix in some honey or maple syrup instead of granulated sugar.
How long does homemade ice cream last in the freezer?
Homemade ice cream can last in the freezer for up to two weeks, but it’s best enjoyed within the first week for optimal texture and flavor. Be sure to store it in an airtight container to prevent freezer burn.
More Relevant Recipes
- Easy Strawberry Mousse: This light and fluffy strawberry mousse provides a delightful, fruity dessert option similar to the Cherry Vanilla Ice Cream. It’s easy to prepare and perfect for those looking to indulge in a creamy, refreshing treat with a hint of fruitiness.
- Vanilla Bean Brown Butter Cheesecake: If you love the smooth, creamy flavors of vanilla, this vanilla bean brown butter cheesecake is an ideal choice. It combines the richness of cheesecake with the nutty flavor of brown butter, offering a delicious, sophisticated twist on the classic vanilla dessert.
- Strawberry Crunch Cheesecake: This decadent strawberry crunch cheesecake is a perfect balance of creamy cheesecake and sweet, crunchy layers. It offers a similar fruit-forward appeal as Cherry Vanilla Ice Cream but in a more indulgent, no-bake dessert format that’s great for special occasions.

Cherry Vanilla Ice Cream Recipe
- Total Time: 2 hours 45 minutes (including freezing time)
- Yield: 6 servings
- Diet: Vegetarian
Description
This Cherry Vanilla Ice Cream recipe combines a rich vanilla base with sweet cherry filling and crunchy chocolate chunks, creating a perfect balance of creamy, fruity, and chocolatey flavors. It’s simple to make with no cooking or eggs required, making it a family-friendly treat for hot summer days or any time you’re craving something indulgent.
Ingredients
- 2 cups fresh cherries, pitted and halved
- 2 tablespoons water
- 2 tablespoons granulated sugar
- 1 tablespoon cornstarch
- 2 cups heavy whipping cream
- 1 cup whole milk
- ¾ cup granulated sugar
- 4 teaspoons vanilla extract
- Pinch of coarse sea salt
- ½ cup chocolate chunks (optional)
Instructions
- Prepare the Cherry Filling: Pit and halve the fresh cherries. In a saucepan, combine cherries with water, sugar, and cornstarch. Stir and heat on medium for about 8-10 minutes until it thickens. Remove from heat and allow it to cool, then refrigerate until chilled.
- Make the Vanilla Ice Cream Base: In a large bowl, whisk together heavy cream, whole milk, granulated sugar, vanilla extract, and sea salt until the sugar is fully dissolved.
- Churn the Ice Cream: Pour the vanilla ice cream base into your ice cream maker and churn according to the manufacturer’s instructions for 20-30 minutes. As the ice cream begins to thicken, slowly add in chocolate chunks if desired.
- Layer the Ice Cream and Cherry Filling: Once the ice cream is ready, layer it in an airtight container with spoonfuls of the cherry filling. Repeat layers 2-3 times to get a beautiful swirl effect.
- Freeze the Ice Cream: Place a piece of wax paper or parchment paper over the ice cream surface, then cover the container with a lid or plastic wrap. Freeze for 2-3 hours, or until the ice cream reaches the desired consistency.
Notes
- Pre-cool your ice cream bowl 24 hours ahead of time if using a freezer bowl ice cream maker.
- If using frozen cherries, make sure to thaw them before preparing the cherry filling.
- If you don’t have chocolate chunks, you can substitute with chocolate chips or chopped chocolate bars.
- For a smoother texture, make sure the ice cream base is cold before churning.
- Prep Time: 20 minutes
- Cook Time: 15 minutes
- Category: Dessert
- Method: Ice Cream Maker
- Cuisine: American
Nutrition
- Serving Size: 1 serving
- Calories: 526
- Sugar: 47g
- Sodium: 73mg
- Fat: 34g
- Saturated Fat: 22g
- Unsaturated Fat: 10g
- Trans Fat: 1g
- Carbohydrates: 51g
- Fiber: 2g
- Protein: 5g
- Cholesterol: 97mg

