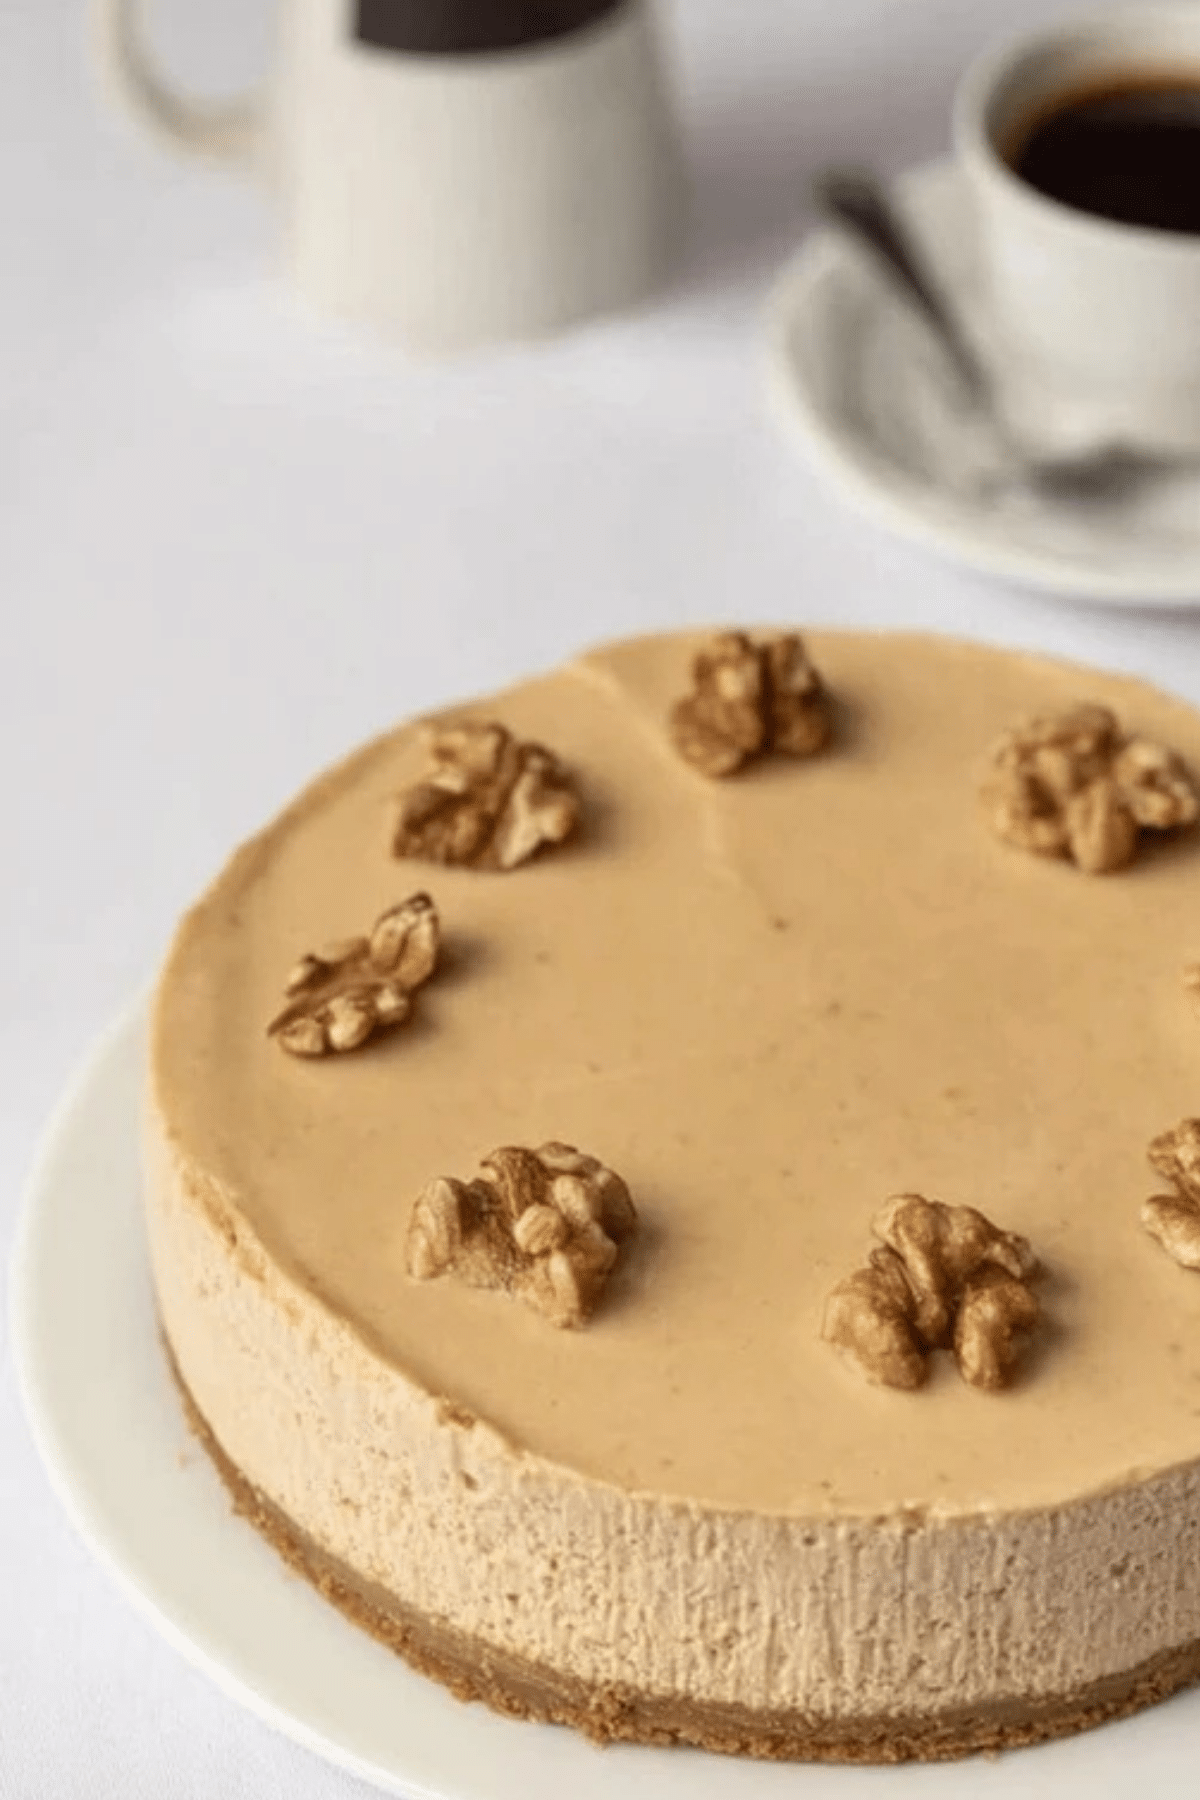
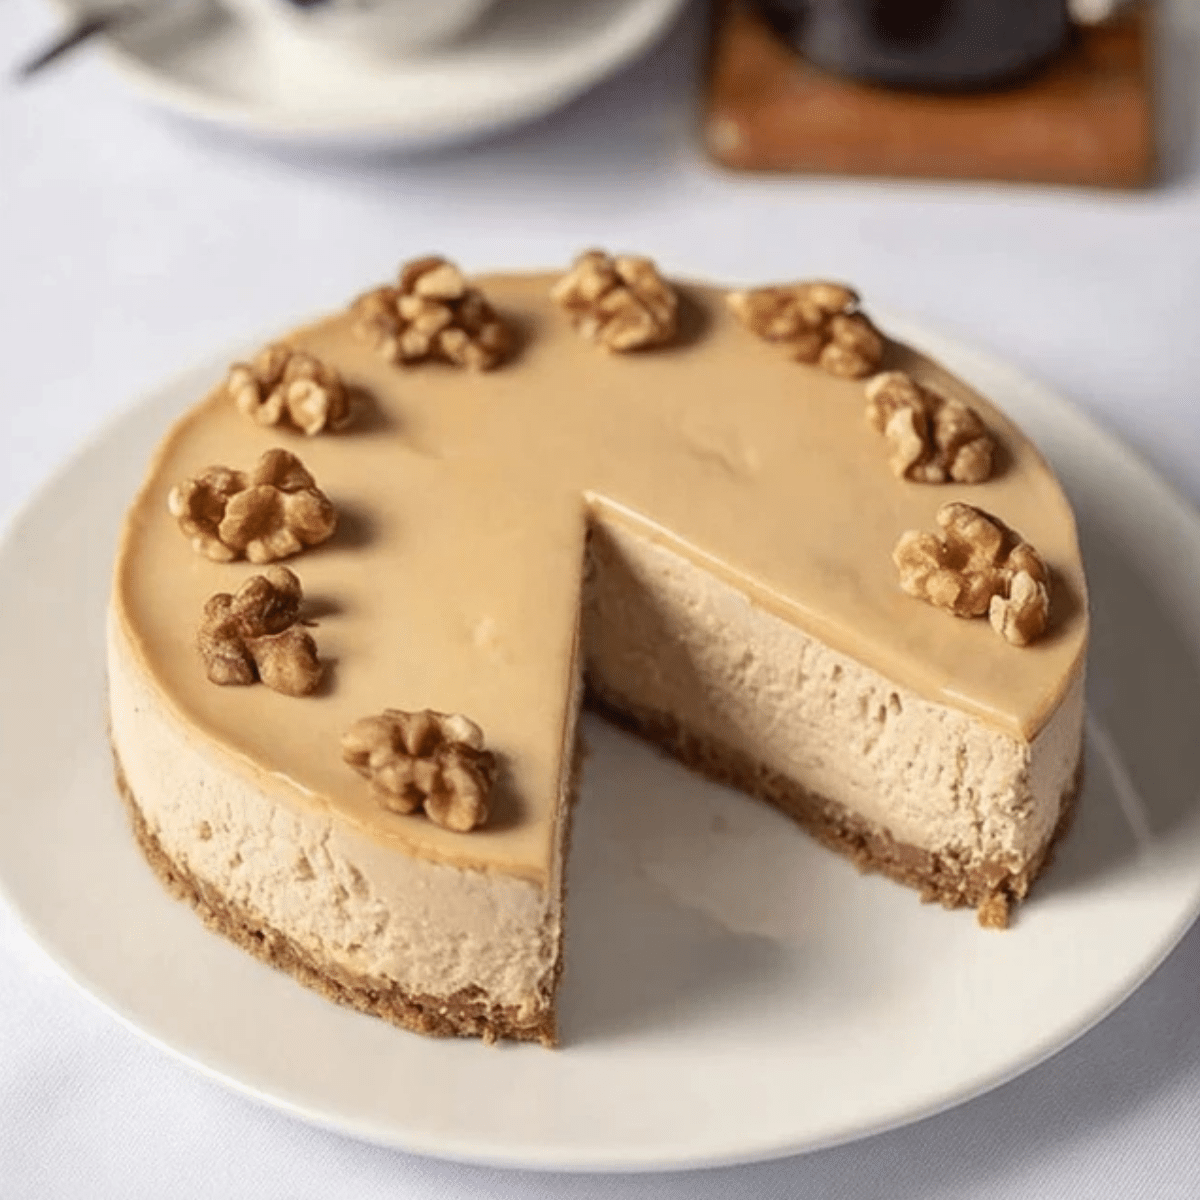
If you’re a fan of coffee and cheesecake, this coffee cheesecake recipe is an absolute must-try! With just a few simple ingredients and easy-to-follow steps, you can create a velvety, rich dessert that satisfies both your sweet tooth and coffee cravings. Whether you’re entertaining guests or simply indulging in a little treat, this no-bake coffee cheesecake will win everyone over with its creamy texture and irresistible flavor.
Table of Contents
Why You’ll Love This Coffee Cheesecake
This coffee cheesecake is a true showstopper, combining the bold taste of coffee with the smooth richness of cheesecake. Not only is it delicious, but it’s also a no-bake recipe, making it perfect for when you’re short on time or just want to avoid using the oven. Plus, the creamy filling paired with a crunchy biscuit base and topped with walnuts is a match made in dessert heaven. With just four simple steps, this coffee cheesecake is both effortless and delightful.
Ingredients
For the cheesecake, you’ll need the following ingredients:
- Reduced Fat Digestive Biscuits: These form the base of the cheesecake, providing a crunchy, slightly sweet foundation.
- Butter: Melts into the biscuit crumbs to create a rich, buttery crust.
- Instant Coffee: This is the star of the recipe, infusing the cheesecake with a delicious coffee flavor.
- Granulated Sugar: Sweetens the coffee mixture to balance the bitterness of the coffee.
- Reduced Fat Soft Cream Cheese: The creamy base that makes the cheesecake smooth and velvety.
- Icing Sugar: Adds sweetness to the cream cheese filling, helping to balance the coffee flavor.
- Vanilla Extract: Enhances the flavor profile with a subtle sweetness.
- Reduced Fat Double Cream: Whipped into the cream cheese mixture to provide a light and fluffy texture.
- Walnut Halves: These are used for decorating the cheesecake, adding a crunchy texture and nutty flavor.
Alternative Ingredient Suggestions
- Graham Crackers: If you can’t find digestive biscuits, graham crackers are a great substitute for the crust.
- Greek Yogurt: For a slightly tangy twist, you can replace the cream cheese with Greek yogurt.
- Nutella: If you prefer a sweeter topping, Nutella can be spread over the finished cheesecake for an extra layer of flavor.
Step-by-Step Instructions
Step 1: Prepare the Biscuit Base
Start by greasing a round loose-bottom cake tin and lining it with greaseproof paper. Crush the biscuits into a breadcrumb-like consistency using a food processor or by placing them in a bag and bashing them with a rolling pin. Gently melt the butter in a saucepan and combine it with the crushed biscuits. Press the mixture firmly into the base of the tin and chill in the fridge for an hour to set.
Step 2: Make the Coffee Mixture
While the biscuit base sets, combine the hot water, instant coffee, and granulated sugar in a small bowl. Stir until the sugar dissolves and the coffee mixture is smooth. Allow this to cool while you prepare the cream cheese filling.
Step 3: Prepare the Cream Cheese Filling
In a stand mixer, beat the cream cheese, icing sugar, and vanilla extract until smooth. Gradually pour in the double cream and continue mixing until the mixture reaches stiff peaks. Fold in the cooled coffee mixture, ensuring it is fully incorporated into the cream cheese mixture. Spoon this over the chilled biscuit base, smoothing the top with a palette knife. Chill in the fridge for 4-6 hours (overnight is best).
Step 4: Decorate and Serve
Before serving, remove the cheesecake from the fridge for 10 minutes to allow it to come to room temperature. Carefully remove the cheesecake from the tin, and decorate with walnut halves. Slice and serve for a coffee-infused treat that’s sure to impress!

Tips & Tricks
- Whisking: Make sure to whisk the cream mixture until stiff peaks form for a firm cheesecake texture.
- Chill Time: Be patient with the chilling time. If possible, let the cheesecake set overnight for the best results.
- Texture Adjustments: If the cheesecake is too soft, ensure you’ve whipped the cream to stiff peaks and followed the recipe’s chilling times.
Pairing Ideas and Variations
This coffee cheesecake is perfect on its own, but you can elevate the experience by pairing it with a strong cup of coffee or a glass of dessert wine. If you’re looking for variations, try swapping the walnuts for chocolate-covered coffee beans or adding a drizzle of caramel sauce on top for an extra layer of sweetness.
For a more festive touch, serve this cheesecake during the holiday season with a side of spiced nuts or a small dollop of whipped cream for added richness.
Conclusion
This coffee cheesecake is a delightful treat that combines the best of both worlds—rich, velvety cheesecake with the bold flavor of coffee. It’s perfect for those moments when you crave something indulgent yet easy to make. With minimal prep time and no baking required, it’s a fuss-free dessert that’s bound to impress. Whether you’re preparing it for a special occasion or just to satisfy your sweet tooth, this coffee cheesecake will surely become a favorite in your dessert repertoire. So grab your ingredients, follow the simple steps, and enjoy this creamy, coffee-infused dessert!
FAQs
1. Can I make this coffee cheesecake ahead of time?
Yes, this coffee cheesecake is actually better when made ahead of time! The flavors meld together as it sits in the fridge, and it needs several hours or overnight to set properly. Make it the day before and enjoy a perfectly chilled, ready-to-serve dessert.
2. Can I use decaffeinated coffee for this recipe?
Absolutely! If you prefer to avoid caffeine or need a decaffeinated option, you can easily substitute decaf instant coffee in this recipe. It will still provide that signature coffee flavor without the caffeine.
3. How can I make this cheesecake gluten-free?
To make this coffee cheesecake gluten-free, simply swap the digestive biscuits for a gluten-free biscuit alternative or use a gluten-free cookie crust. The rest of the recipe remains the same, and you’ll have a gluten-free treat!
4. Can I freeze the coffee cheesecake?
Yes, you can freeze this coffee cheesecake! After it has fully set in the fridge, cover it tightly with plastic wrap or foil and store it in the freezer. When you’re ready to serve, let it thaw in the fridge for several hours before enjoying.
More Relevant Recipes
- The Creamiest No-Bake Raspberry Cheesecake: This no-bake cheesecake offers a refreshing contrast with its tangy raspberry flavor, providing a fruity and creamy alternative to the rich coffee-flavored variety. It’s perfect for those who love fruity desserts with a smooth, velvety texture.
- Mini Lemon Cheesecakes: These mini lemon cheesecakes are a light and zesty take on the classic cheesecake. With a burst of citrus flavor, they offer a refreshing twist while maintaining the creamy and smooth texture that cheesecake lovers crave.
- Mississippi Mud Pie: For chocolate lovers, this Mississippi Mud Pie offers a rich, decadent dessert with a similar creamy texture to cheesecake, but with the added allure of chocolate. Perfect for those who enjoy coffee-flavored desserts paired with a rich chocolate base.

Coffee Cheesecake Recipe
- Total Time: 6 hours (including chilling time)
- Yield: 8 servings
- Diet: Vegetarian
Description
This coffee cheesecake recipe combines the rich flavor of coffee with a smooth and creamy cheesecake filling, set on a crunchy digestive biscuit base. It’s a no-bake dessert that’s simple to make and perfect for coffee lovers.
Ingredients
- Reduced Fat Digestive Biscuits: 200g
- Butter: 100g, melted
- Instant Coffee: 2 tbsp
- Granulated Sugar: 1/4 cup
- Reduced Fat Soft Cream Cheese: 250g
- Icing Sugar: 1/2 cup
- Vanilla Extract: 1 tsp
- Reduced Fat Double Cream: 300ml
- Walnut Halves: for decoration
Instructions
- Grease a round loose-bottom cake tin and line it with greaseproof paper.
- Crush the biscuits into fine crumbs and mix with the melted butter. Press the mixture into the bottom of the tin and refrigerate for 1 hour.
- In a small bowl, dissolve the instant coffee and sugar in hot water. Allow to cool.
- In a stand mixer, beat the cream cheese, icing sugar, and vanilla extract until smooth.
- Gradually add the double cream to the cream cheese mixture and continue mixing until stiff peaks form.
- Fold in the cooled coffee mixture until fully incorporated into the cream cheese filling.
- Spread the cream cheese mixture evenly over the chilled biscuit base and smooth the top with a palette knife.
- Chill the cheesecake in the fridge for 4-6 hours or overnight to allow it to set.
- Before serving, remove from the tin and decorate with walnut halves.
Notes
- Make sure to whisk the cream until stiff peaks form to ensure a firm and creamy texture.
- For the best flavor, let the cheesecake set overnight in the fridge.
- If you want a stronger coffee flavor, increase the amount of instant coffee slightly.
- For gluten-free options, replace the digestive biscuits with a gluten-free biscuit alternative.
- Prep Time: 15 minutes
- Cook Time: 0 minutes
- Category: Dessert
- Method: No-bake
- Cuisine: American
Nutrition
- Serving Size: 1 slice
- Calories: 350 kcal
- Sugar: 25g
- Sodium: 100mg
- Fat: 25g
- Saturated Fat: 10g
- Unsaturated Fat: 12g
- Trans Fat: 0g
- Carbohydrates: 30g
- Fiber: 1g
- Protein: 4g
- Cholesterol: 35mg

