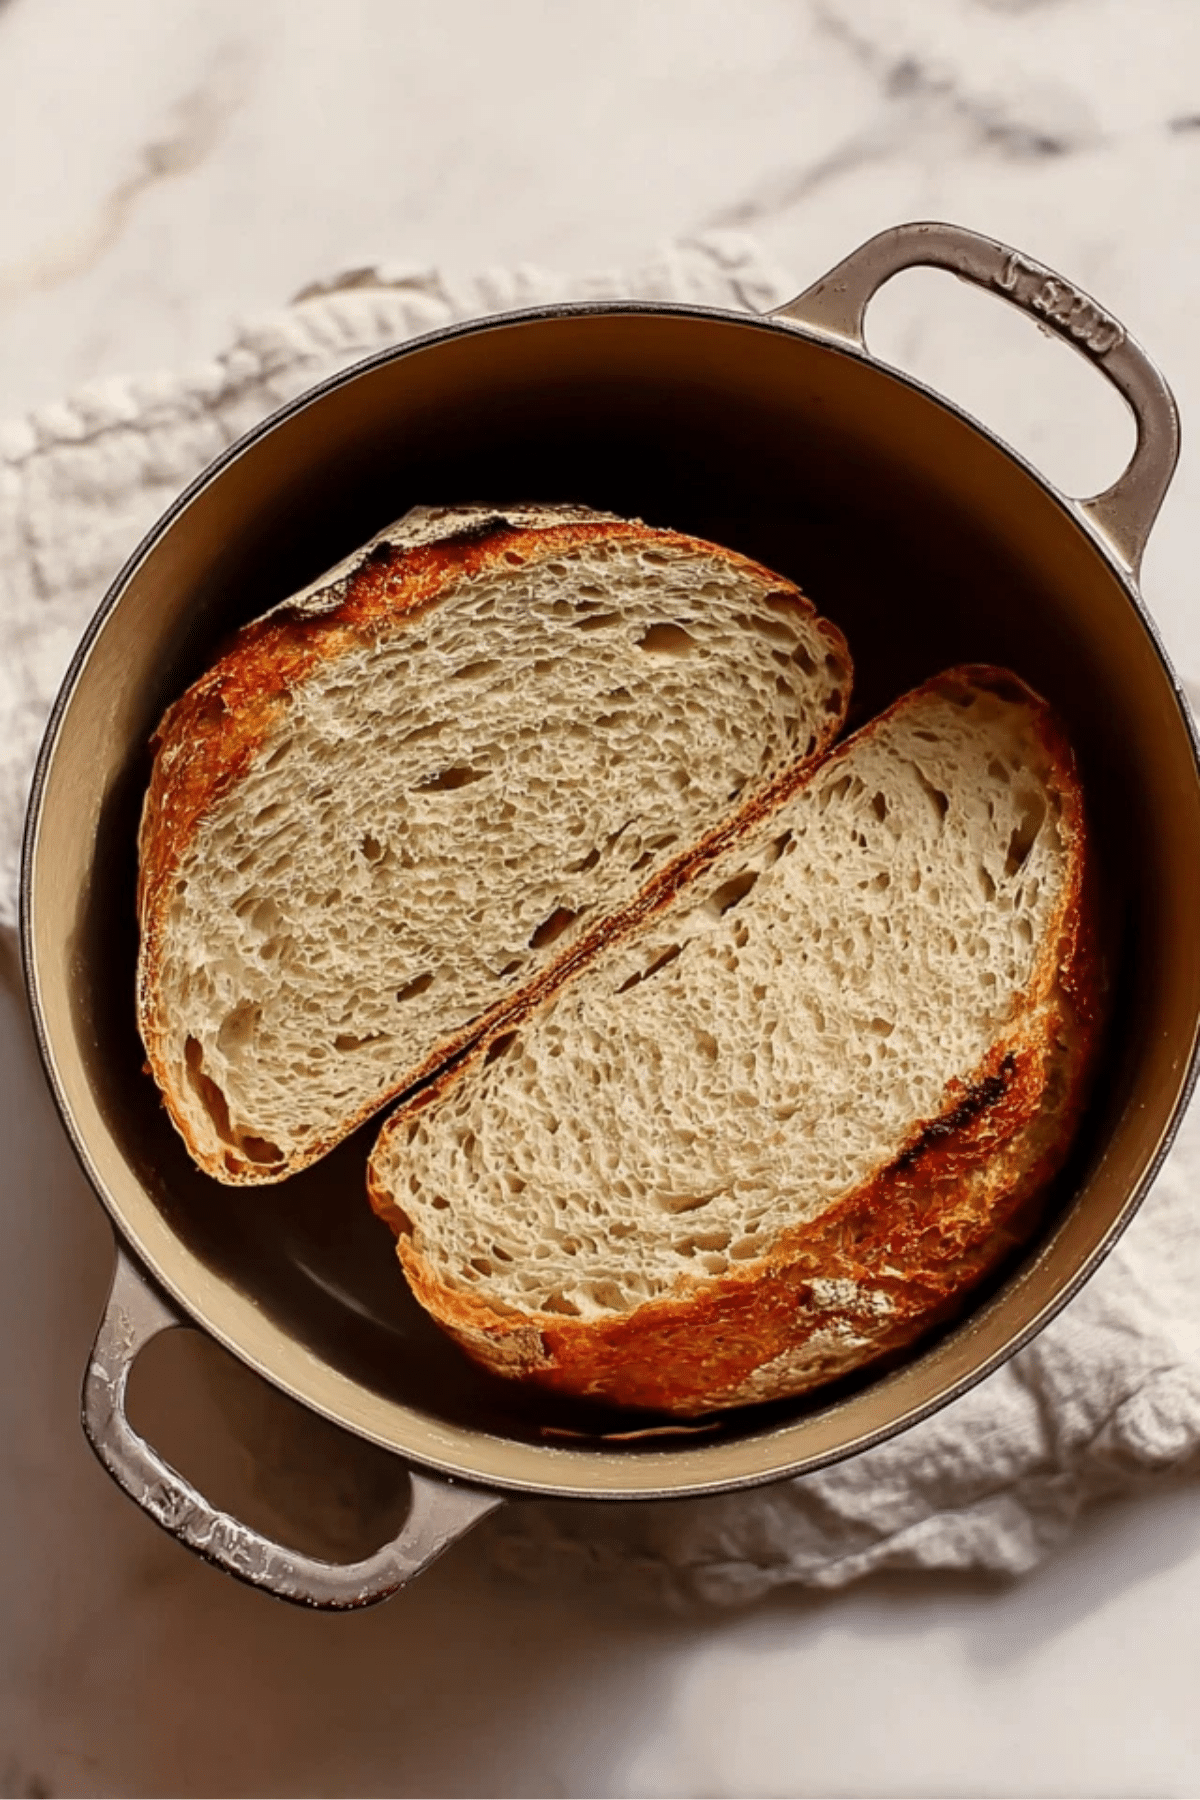
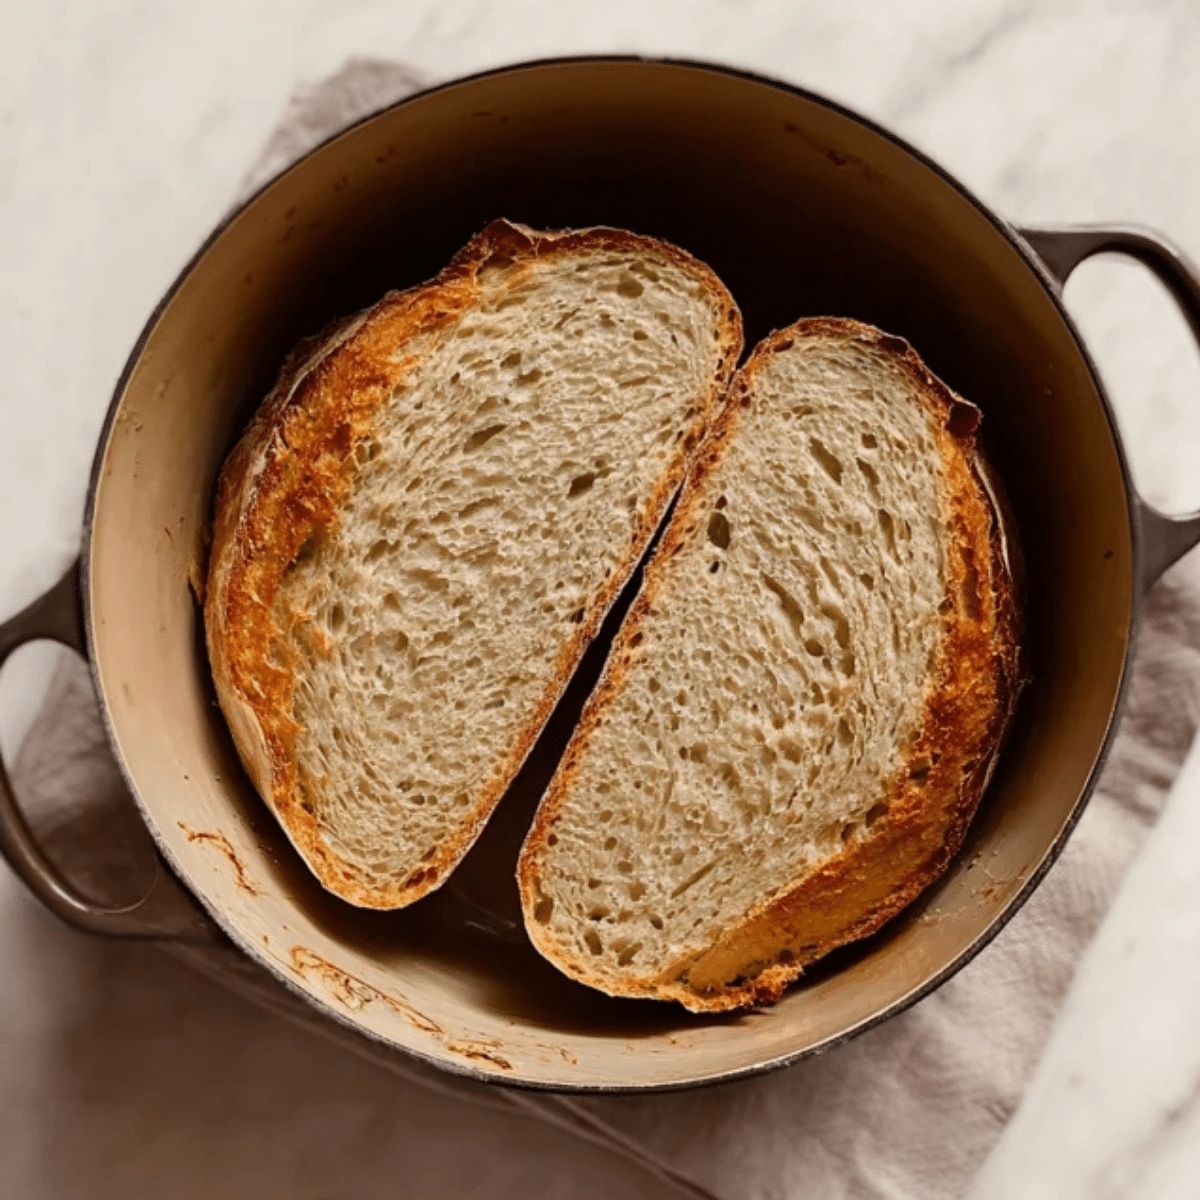
Making Dutch oven sourdough bread is one of the most rewarding and delicious baking projects for bread lovers. This Dutch oven sourdough bread recipe is perfect for beginners, offering a balance of ease and authenticity. You can make a crispy, airy, and flavorful loaf right in your kitchen with a few simple ingredients and tools. The key to perfect sourdough is patience, care, and a good sourdough starter, which results in a chewy, tangy crumb with a crusty exterior.
Table of Contents
Why You’ll Love This Dutch Oven Sourdough Bread
This recipe is not only for seasoned bakers but also for beginners who want to experience the magic of sourdough without the complexity of commercial yeast-based breads. Dutch oven sourdough bread is the perfect combination of crispy and soft, with a deep flavor developed over hours of fermentation. The beauty of making sourdough bread in a Dutch oven is the even heat distribution, which mimics the effects of a professional bread oven. This results in a perfectly baked loaf every time.
Ingredients for Dutch Oven Sourdough Bread
The ingredients needed for Dutch oven sourdough bread are straightforward but essential to the final result.
• Sourdough Starter: Provides natural leavening and tangy flavor. Make sure your starter is active and bubbly before use.
• Bread Flour: This gives the bread structure and strength, creating a chewy crumb.
• Water: Hydrates the dough and activates the sourdough starter.
• Unrefined Sea Salt: Adds flavor and strengthens the dough’s structure.
• Spray Bottle with Water: Helps prevent the dough from sticking during the stretch and fold process.
• Dutch Oven (6-quart): Creates the ideal environment for the bread to bake with high heat and steam.
• Proofing Basket: Helps shape the dough and allows for a consistent rise.
Alternative Ingredient Suggestions
If you’re missing any ingredients or have dietary preferences, there are swaps you can make. For example, you can use all-purpose flour instead of bread flour, though bread flour yields better texture. You can also try filtered water if you’re particular about the quality of the water, though tap water works just as well. For a gluten-free version, swap the bread flour for a gluten-free flour blend, but be aware it might require slight adjustments in the hydration level.
Step-by-Step Instructions for Dutch Oven Sourdough Bread
- Prepare the Dough: In a large bowl, combine your sourdough starter, bread flour, salt, and water. Mix until a rough dough forms.
- Knead the Dough: Knead the dough until it becomes smooth and cohesive. If the dough feels too sticky, mist your hands with water instead of flour.
- Stretch and Fold: Over the next six hours, perform at least three stretches and folds. Every 30 minutes, spray your hands and the counter with water, then stretch and fold the dough gently. The goal is to build strength in the dough.
- Shape the Dough: After resting for several hours, shape the dough by folding the sides in and flipping it over, tucking it into a round shape.
- Proof the Dough: Place the shaped dough into a floured proofing basket. Let it rise for 8–12 hours in the fridge.
- Preheat the Oven: Preheat your Dutch oven in the oven at 450°F while the dough rests.
- Score the Dough: Carefully remove the dough from the fridge and score it with a sharp knife to help control the rise.
- Bake the Bread: Place the dough into the preheated Dutch oven and bake for 30 minutes with the lid on. Then, remove the lid and bake for another 20–30 minutes to achieve a golden-brown crust.
- Cool the Bread: Allow the bread to cool for at least one hour before slicing to set the crumb.

Tips & Tricks for Perfect Dutch Oven Sourdough Bread
• Proper Hydration: Hydrate your dough sufficiently for better rise and texture. A wetter dough results in a lighter, airier crumb.
• Stretch and Fold: Be patient with this step. Consistent folding builds strength, which is crucial for a good rise.
• Don’t Overproof: Keep an eye on the dough during proofing. Overproofed dough can collapse, leading to a dense loaf.
• Use a Hot Dutch Oven: Preheating the Dutch oven is essential for that crispy, golden crust.
• Resting is Key: Don’t skip the resting stages; the long fermentation develops the signature sourdough flavor and texture.
Pairing Ideas and Variations
While this recipe is perfect on its own, you can make it even more delicious with a few additions. Try folding in some fresh herbs like rosemary or thyme for a savory twist. You can also add cheese like cheddar or Parmesan to the dough for an indulgent, savory flavor. For a sweeter variation, try folding in dried fruit such as raisins or cranberries. Serve your sourdough bread with a spread of butter or olive oil, or pair it with your favorite soup or salad.
Health Benefits of Dutch Oven Sourdough Bread
Sourdough is easier to digest than regular bread due to the fermentation process. The naturally occurring wild yeasts and bacteria in sourdough break down phytic acid, allowing for better absorption of essential minerals like magnesium, potassium, and zinc. Sourdough also has a lower glycemic index compared to conventional bread, making it a better choice for those looking to manage their blood sugar levels.
Conclusion
Baking Dutch oven sourdough bread is an enjoyable and rewarding process that results in a beautifully crusty and flavorful loaf. By following the steps outlined in this recipe, you can create a masterful sourdough loaf right from the comfort of your kitchen. The combination of a bubbly sourdough starter, proper hydration, and careful stretching and folding ensures a light and airy crumb with a deep, tangy flavor. Whether you’re new to sourdough or a seasoned baker, this recipe provides a solid foundation for countless variations. Once you master this basic recipe, you can experiment with different ingredients and flavors, adding your personal touch to each loaf.
FAQ
1. How do I know when my Dutch oven sourdough bread is ready to bake?
The best way to check if your sourdough is ready to bake is to gently press your finger into the dough. If the indentation springs back slowly, it’s ready. The dough should feel slightly firm but elastic. Additionally, a properly proofed loaf will have doubled in size and show signs of aeration when you score it.
2. Can I make Dutch oven sourdough bread without a sourdough starter?
No, a sourdough starter is essential for this recipe as it provides the natural leavening agents (wild yeast and bacteria) that make the bread rise and develop its signature tangy flavor. However, you can easily make your own starter or buy one from a store.
3. Why is my Dutch oven sourdough bread dense?
A dense loaf can result from under-proofing or overworking the dough. Be sure to give the dough ample time to rise during each stage of fermentation. The dough should also be hydrated enough to create a soft, airy texture. Avoid overworking the dough when stretching and folding.
4. Can I bake multiple loaves of Dutch oven sourdough bread at once?
It’s not recommended to bake more than one loaf at a time in a standard 6-quart Dutch oven as it may not allow the dough to expand properly. If you want to bake more than one loaf, use a larger Dutch oven or bake the loaves one at a time.
More Relevant Recipes
- Sourdough Garlic Bread: Easy & Cheesy Recipe
A delicious way to repurpose your sourdough bread into a savory, buttery, and cheesy garlic bread. Perfect for serving with pasta or soup! - Zucchini Cheddar Herb Beer Bread Recipe
If you love baking with beer, try this delightful zucchini cheddar herb beer bread recipe that’s perfect for any meal. - Homemade Soft Pretzel Bites
These soft pretzel bites are an irresistible snack, easy to make at home, and a great companion to your homemade sourdough bread adventures.

Dutch Oven Sourdough Bread Recipe
- Total Time: 18 hours 10 minutes
- Yield: 1 loaf
- Diet: Vegetarian
Description
Dutch Oven Sourdough Bread is a crispy, tangy loaf with a chewy, airy crumb. Made with just a few simple ingredients, this bread recipe uses natural sourdough starter for flavor and leavening. Perfect for beginners and experienced bakers alike, this bread is easy to make and requires minimal equipment, resulting in a bakery-quality loaf right at home.
Ingredients
- Sourdough Starter: Provides natural leavening and tangy flavor.
- Bread Flour: Creates structure and a chewy crumb.
- Water: Hydrates the dough and activates the sourdough starter.
- Unrefined Sea Salt: Adds flavor and strengthens the dough.
- Spray Bottle with Water: Used to prevent sticking during the stretch and fold process.
- Dutch Oven (6-quart): Ensures even baking with high heat and steam.
- Proofing Basket: Helps shape and rise the dough.
Instructions
- Prepare the dough by mixing your sourdough starter, bread flour, salt, and water until a rough dough forms.
- Knead the dough until smooth and cohesive, misting your hands with water if needed.
- Stretch and fold the dough every 30 minutes for about six hours to build strength.
- Shape the dough into a round boule, folding the sides in and tucking the dough underneath.
- Proof the dough in the fridge for 8–12 hours in a floured proofing basket.
- Preheat the Dutch oven to 450°F while the dough rests.
- Score the dough with a sharp knife before baking.
- Bake the dough in the preheated Dutch oven for 30 minutes with the lid on, then remove the lid and bake for an additional 20–30 minutes to develop a golden crust.
- Cool for at least one hour before slicing.
Notes
- Ensure your sourdough starter is active before using it.
- Do not skip the stretch and fold process, as it builds strength in the dough for a better rise.
- If you want a softer loaf, reduce the baking time slightly to avoid over-crisping the crust.
- Allow the bread to cool completely to set the crumb structure before slicing.
- Prep Time: 10 minutes
- Cook Time: 50 minutes
- Category: Bread
- Method: Baking
- Cuisine: American
Nutrition
- Serving Size: 1 slice
- Calories: 120
- Sugar: 0.5g
- Sodium: 200mg
- Fat: 0.5g
- Saturated Fat: 0g
- Unsaturated Fat: 0g
- Trans Fat: 0g
- Carbohydrates: 25g
- Fiber: 1g
- Protein: 3g
- Cholesterol: 0mg

