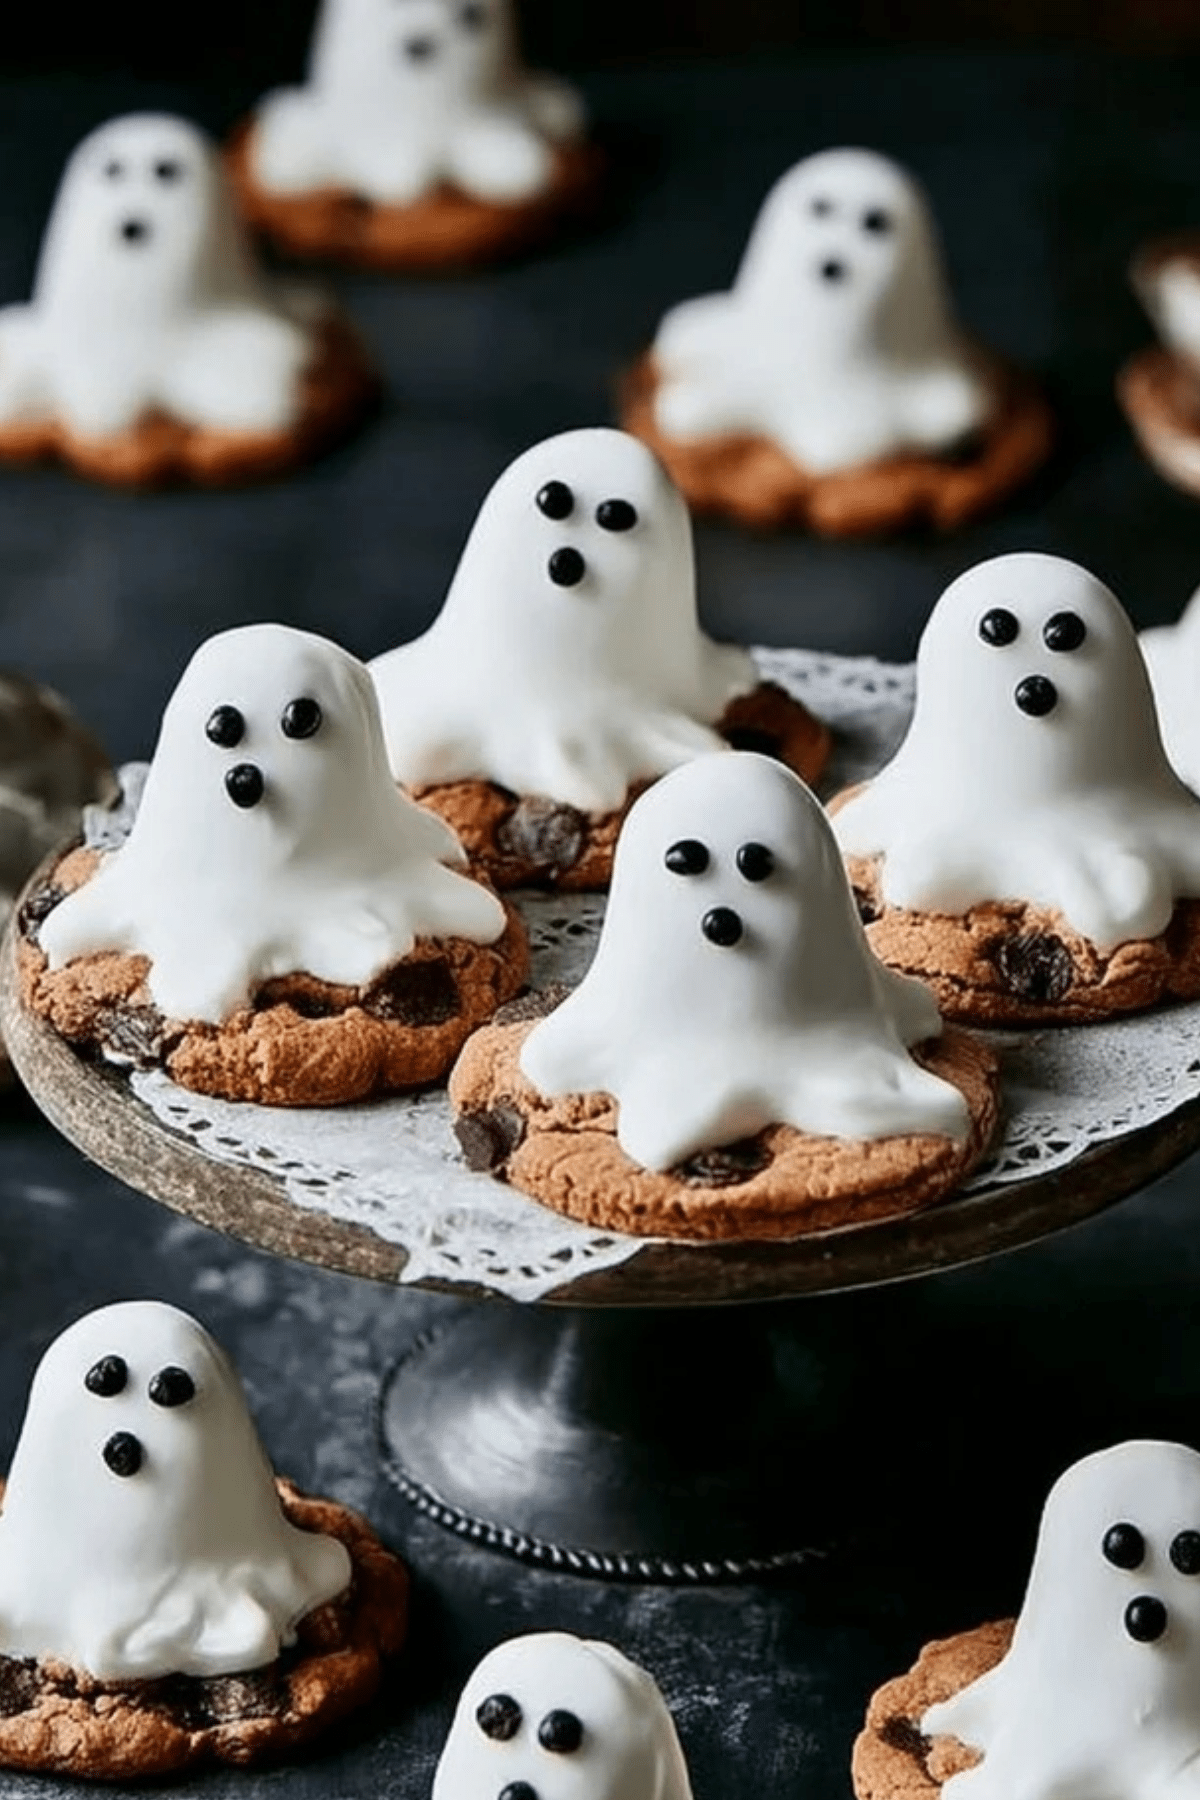
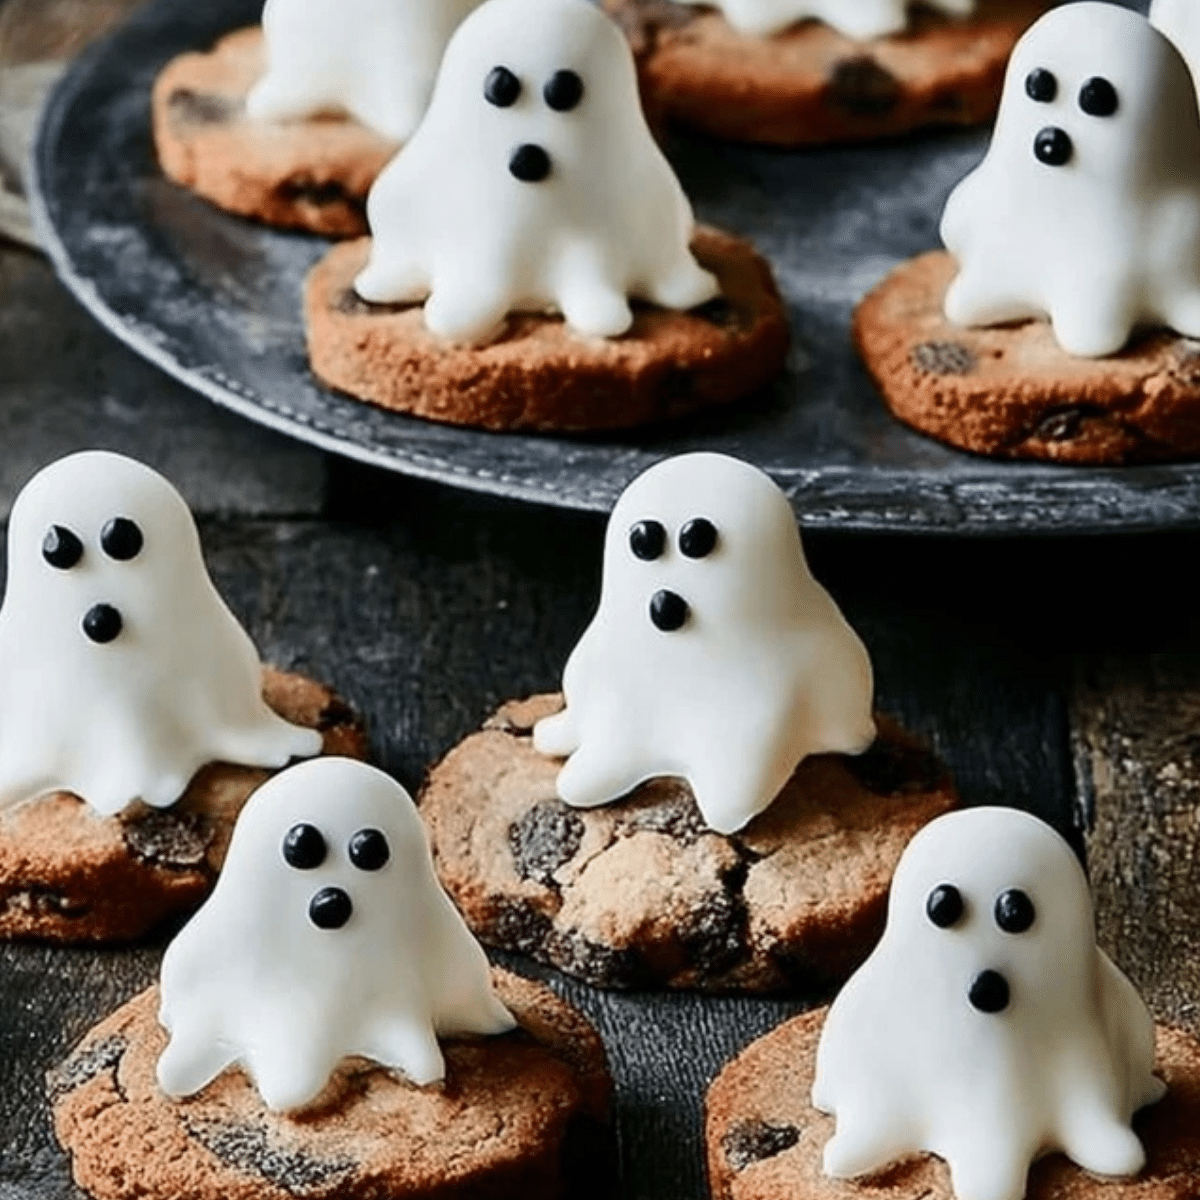
These ghost cookies are the ultimate last-minute Halloween treat — spooky, sweet, and no baking required! Whether you’re throwing a party, packing a lunchbox surprise, or just embracing the spooky season, these simple ghost cookies are a surefire hit. With just four ingredients and 25 minutes of your time, you’ll transform store-bought cookies into adorable edible ghosts that delight kids and adults alike.
Table of Contents
Why You’ll Love These Ghost Cookies
Ghost cookies are perfect when you need a quick, festive dessert without turning on the oven. They’re:
- Kid-friendly: Little ones will love decorating the spooky faces.
- Fuss-free: Minimal prep, no baking, and easy cleanup.
- Customizable: Use different cookie bases or icing designs.
- Great for parties: They double as dessert and table décor!
Made with store-bought chocolate chunk cookies, these ghost cookies turn basic ingredients into eye-catching Halloween fun.
What You’ll Need to Make Ghost Cookies
• Chocolate Chunk Cookies: These provide the base and add chewy, chocolaty richness.
• Marshmallows: Serve as the ghost’s head and add soft, fluffy texture.
• Icing Sugar: Forms the drippy ghost “sheet” — sweet and classic.
• Black Writing Icing: Brings your ghosts to life with spooky eyes and mouths.
Ingredient Notes and Alternatives
Can’t find exactly what’s listed? Here are easy swaps to keep your ghost cookies spooky and delicious:
• Cookies: Any flat, firm cookie works — try digestive biscuits, graham crackers, or shortbread for different flavor profiles.
• Marshmallows: Large or jumbo ones work best, but mini marshmallows stacked can also create a ghostly shape.
• Icing Sugar: You can make your own by blending granulated sugar until powdery.
• Black Writing Icing: No gel? Melt dark chocolate and pipe using a ziplock bag for DIY details.
How to Make Ghost Cookies (Step-by-Step)
- Prepare the Icing
In a large bowl, sift 175g of icing sugar. Add 5 teaspoons of water and stir until you get a thick but pourable icing. Adjust water slightly if needed. - Set the Cookies
Lay out your 9 chocolate chunk cookies on baking paper or a clean wooden board. Make sure they are flat and spaced apart. - Secure the Marshmallows
One by one, dip the bottom of each marshmallow into the icing. Press it onto the center of a cookie so it sticks firmly. - Create the Ghost Sheet
Use a spoon to pour icing over each marshmallow. Let it drizzle over and slightly down the sides of the cookie. This mimics a ghost draped in a white sheet. - Let Them Set
Allow the icing to firm up for about 15–20 minutes at room temperature, or place in the fridge for quicker setting. - Add Spooky Faces
Use black writing icing to draw two small eyes and a circular or oval mouth on each ghost. Be creative with expressions — scared, surprised, silly!

Pro Tips for Perfect Ghost Cookies
• Don’t over-thin the icing — it should coat well without running off too quickly.
• Let the icing set fully before adding faces to avoid smudges.
• Chill the cookies before serving if your kitchen is warm; it keeps the ghosts looking neat.
• Make ahead and store in an airtight container at room temperature for up to 2 days.
Fun Ways to Serve and Customize Ghost Cookies
Looking to elevate your ghost cookies or cater to dietary needs? Try these fun ideas:
• Spooky Platter: Arrange ghost cookies with candy corn, chocolate bats, or mini pumpkins.
• Gluten-Free Version: Use certified gluten-free cookies as the base.
• Double Chocolate Ghosts: Drizzle dark chocolate over the top of the white icing for a two-tone effect.
• Spicy Ghosts: Add a pinch of cinnamon or chili powder to the icing for a grown-up twist.
• Mini Ghosts: Use smaller cookies and mini marshmallows for bite-sized treats perfect for party platters.
Halloween Magic Made Easy
Halloween doesn’t have to mean hours in the kitchen. These ghost cookies prove that spooky, festive treats can be quick, creative, and irresistibly fun. Whether you’re planning a monster bash or just want to surprise your kids with a ghostly snack, this easy ghost cookies recipe delivers both charm and flavor.
Wrapping Up the Spooky Fun
These ghost cookies are the perfect example of how a few simple ingredients can turn into a festive, crowd-pleasing treat with minimal effort. Whether you’re a seasoned baker or just starting out, this recipe offers a fun, fail-proof way to bring Halloween spirit to your kitchen. They’re sweet, spooky, and irresistibly cute — ideal for school parties, family gatherings, or a cozy Halloween movie night.
Make a batch, get creative with your ghost faces, and enjoy making memories just as much as the cookies themselves.
Frequently Asked Questions About Ghost Cookies
Can I make ghost cookies in advance?
Yes! Ghost cookies can be made up to 2 days ahead. Store them in an airtight container at room temperature. Avoid refrigeration as it can make the cookies too soft or cause condensation on the icing.
What if my icing is too runny or too thick?
If the icing is too thin, add a little more sifted icing sugar. If it’s too thick to pour, add water one drop at a time until it reaches a thick but pourable consistency. The key to great ghost shapes is balanced icing texture.
Can I use homemade cookies instead of store-bought ones?
Absolutely. While the recipe is designed for speed with store-bought cookies, feel free to use your favorite homemade chocolate chunk cookie or any sturdy cookie base. Just ensure they’re cool and firm before decorating.
Is there a dairy-free or vegan option for ghost cookies?
Yes. Choose vegan-friendly cookies and marshmallows (many brands now offer plant-based versions), and ensure your icing sugar is vegan-certified. You can also use melted dairy-free dark chocolate for decorating the ghost faces.
More Relevant Recipes
- Vanilla Bean Crème Brûlée Cheesecake Cupcakes: These elegant mini cheesecakes bring a rich vanilla flavor with a brûléed sugar topping — perfect for Halloween dessert tables or when you want a classy twist on festive treats.
- Strawberry Cheesecake Cookies: A sweet and colorful cookie that shares the decorated, fun vibe of ghost cookies. Ideal for holiday themes or to offer a fruity contrast to spooky snacks.
- Easy Starbucks-Inspired Birthday Cake Pops: These no-bake treats are similar in prep style to ghost cookies and offer vibrant color, creamy texture, and kid-approved presentation — great for party platters and Halloween events.

Ghost Cookies
- Total Time: 25 minutes, plus setting time
- Yield: 9 cookies
- Diet: Vegetarian
Description
These adorable Ghost Cookies are spooky, sweet, and super easy to make — perfect for Halloween parties or a fun family treat. Using store-bought chocolate chunk cookies, marshmallows, and simple icing, you can whip up these festive no-bake goodies in under 30 minutes.
Ingredients
- 175g icing sugar: Used to create the ghostly white icing that coats the marshmallows and cookies.
- 5 tsp water: Mixed with the icing sugar to form a thick, pourable glaze.
- 1 x 200g pack chocolate chunk cookies (about 9 cookies): Serves as the base for the ghost cookies, adding a rich and chewy texture.
- 9 regular-sized marshmallows: Used as the ghost’s head and body, giving height and shape to the icing.
- Black writing icing: Used to draw spooky eyes and mouths on each ghost.
Instructions
- Sift the icing sugar into a large mixing bowl.
- Add 5 teaspoons of water and stir until a thick but pourable icing forms.
- Place the chocolate chunk cookies on a baking sheet or wooden board.
- Dip the bottom of each marshmallow into the icing and place one in the center of each cookie to secure it.
- Using a spoon, pour icing over each marshmallow, allowing it to drizzle over the cookie and down the sides.
- Let the icing set for 15–20 minutes at room temperature (or chill briefly in the fridge).
- Use black writing icing to add ghost faces with eyes and a mouth on each marshmallow.
Notes
- Ensure icing is thick enough to coat but not runny — add sugar or water to adjust.
- Decorate ghost faces only after the icing has fully set to avoid smudging.
- Store in an airtight container for up to 2 days at room temperature.
- Use vegan marshmallows and cookies for a plant-based version.
- Prep Time: 25 minutes
- Cook Time: 0 minutes
- Category: Dessert
- Method: No-bake
- Cuisine: American
Nutrition
- Serving Size: 1 cookie
- Calories: 219 Kcal
- Sugar: 33g
- Sodium: 0.1g
- Fat: 6g
- Saturated Fat: 2g
- Unsaturated Fat: 4g
- Trans Fat: 0g
- Carbohydrates: 39g
- Fiber: 0g
- Protein: 1g
- Cholesterol: 0mg

