Ingredients
Scale
- 3 cups of white chocolate chips
- 1 can (14 ounces) sweetened condensed milk
- Orange and black gel food coloring
- Halloween-themed sprinkles
Instructions
- Prepare the Pan: Start by lining an 8×8-inch pan with foil. This makes it easier to remove the fudge once it’s set. Spray the lined pan with nonstick cooking spray to prevent sticking.
- Create the First Layer: Place 1 cup of white chocolate chips and 1/3 cup of sweetened condensed milk in a microwave-safe bowl. Heat the mixture in 30-second intervals, stirring after each session. You’ll know it’s ready when the chocolate is melted and the mixture is smooth.
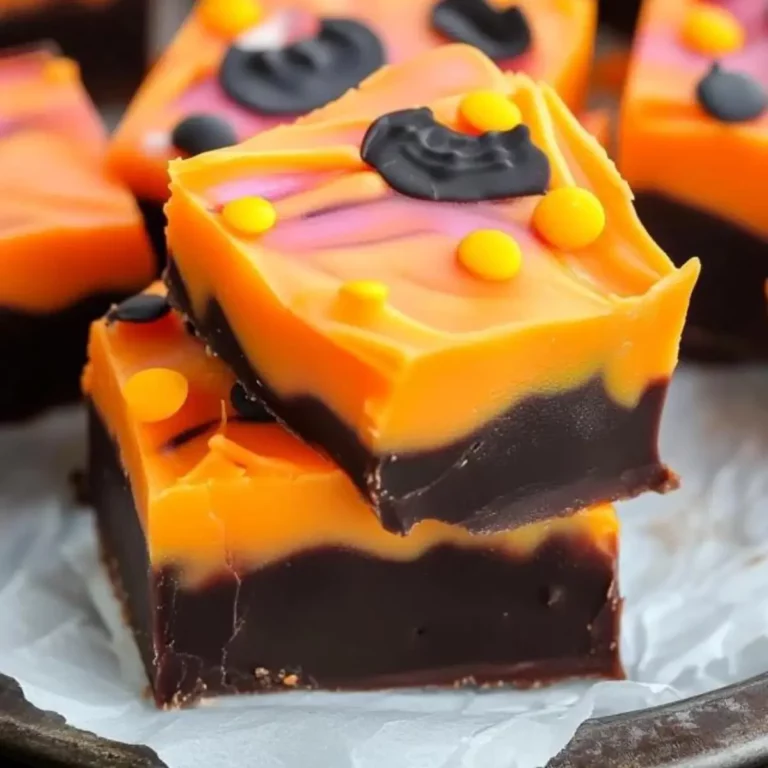
- Once the mixture is ready, add a few drops of orange gel food coloring. Stir until the color is evenly distributed and you achieve that vibrant Halloween orange. Pour this orange fudge layer into your prepared pan and spread it evenly. Place the pan in the fridge for about 10 minutes to let the layer set.
- Repeat for the Black Layer: Now, for the spooky black layer. Follow the same process as before: microwave another 1 cup of white chocolate chips and 1/3 cup of sweetened condensed milk until melted. Stir in black gel food coloring to get that rich, Halloween-appropriate shade. Once again, pour this layer over the orange fudge in your pan and chill for another 10 minutes.
- The Final Layer: For the third and final layer, melt the last 1 cup of white chocolate chips and 1/3 cup sweetened condensed milk. You can leave this layer plain white or add another fun color like purple or green—whatever fits your spooky mood! Pour the final layer over the previous two, and before it fully sets, sprinkle it with Halloween-themed sprinkles. This final touch adds both crunch and festivity!
- Chill and Cut: Refrigerate the entire pan for about 2 hours or until the fudge is fully set. Once firm, remove the fudge from the pan using the foil lining. Cut into bite-sized squares and enjoy your spook-tacular creation!
Notes
- Tip 1: Don’t overheat the chocolate. Melting white chocolate can be tricky. Be sure to heat it in 30-second intervals and stir often to avoid burning.
- Tip 2: Use high-quality gel food coloring rather than liquid food coloring, as gel tends to produce more vibrant colors without affecting the consistency of the fudge.
- Tip 3: Add some extra flair by incorporating other spooky toppings like candy eyeballs, mini chocolate chips, or crushed Halloween candies.
- Tip 4: Keep the fudge refrigerated if not serving immediately. It will stay fresh and firm for up to a week when stored in an airtight container.
- Prep Time: 15 minutes
- Cook Time: 10 minutes (microwave intervals)
- Category: Dessert
- Method: No-Bake
- Cuisine: American
- Diet: Vegetarian
Nutrition
- Serving Size: 1 piece (approx. 1/16 of the batch)
- Calories: 180 kcal
- Sugar: 20g
- Sodium: 40mg
- Fat: 9g
- Saturated Fat: 5g
- Unsaturated Fat: 2g
- Trans Fat: 0g
- Carbohydrates: 22g
- Fiber: 0g
- Protein: 2g
- Cholesterol: 15mg
Keywords: Halloween treats, Easy fudge recipe ,No-bake Halloween desserts, White chocolate fudge