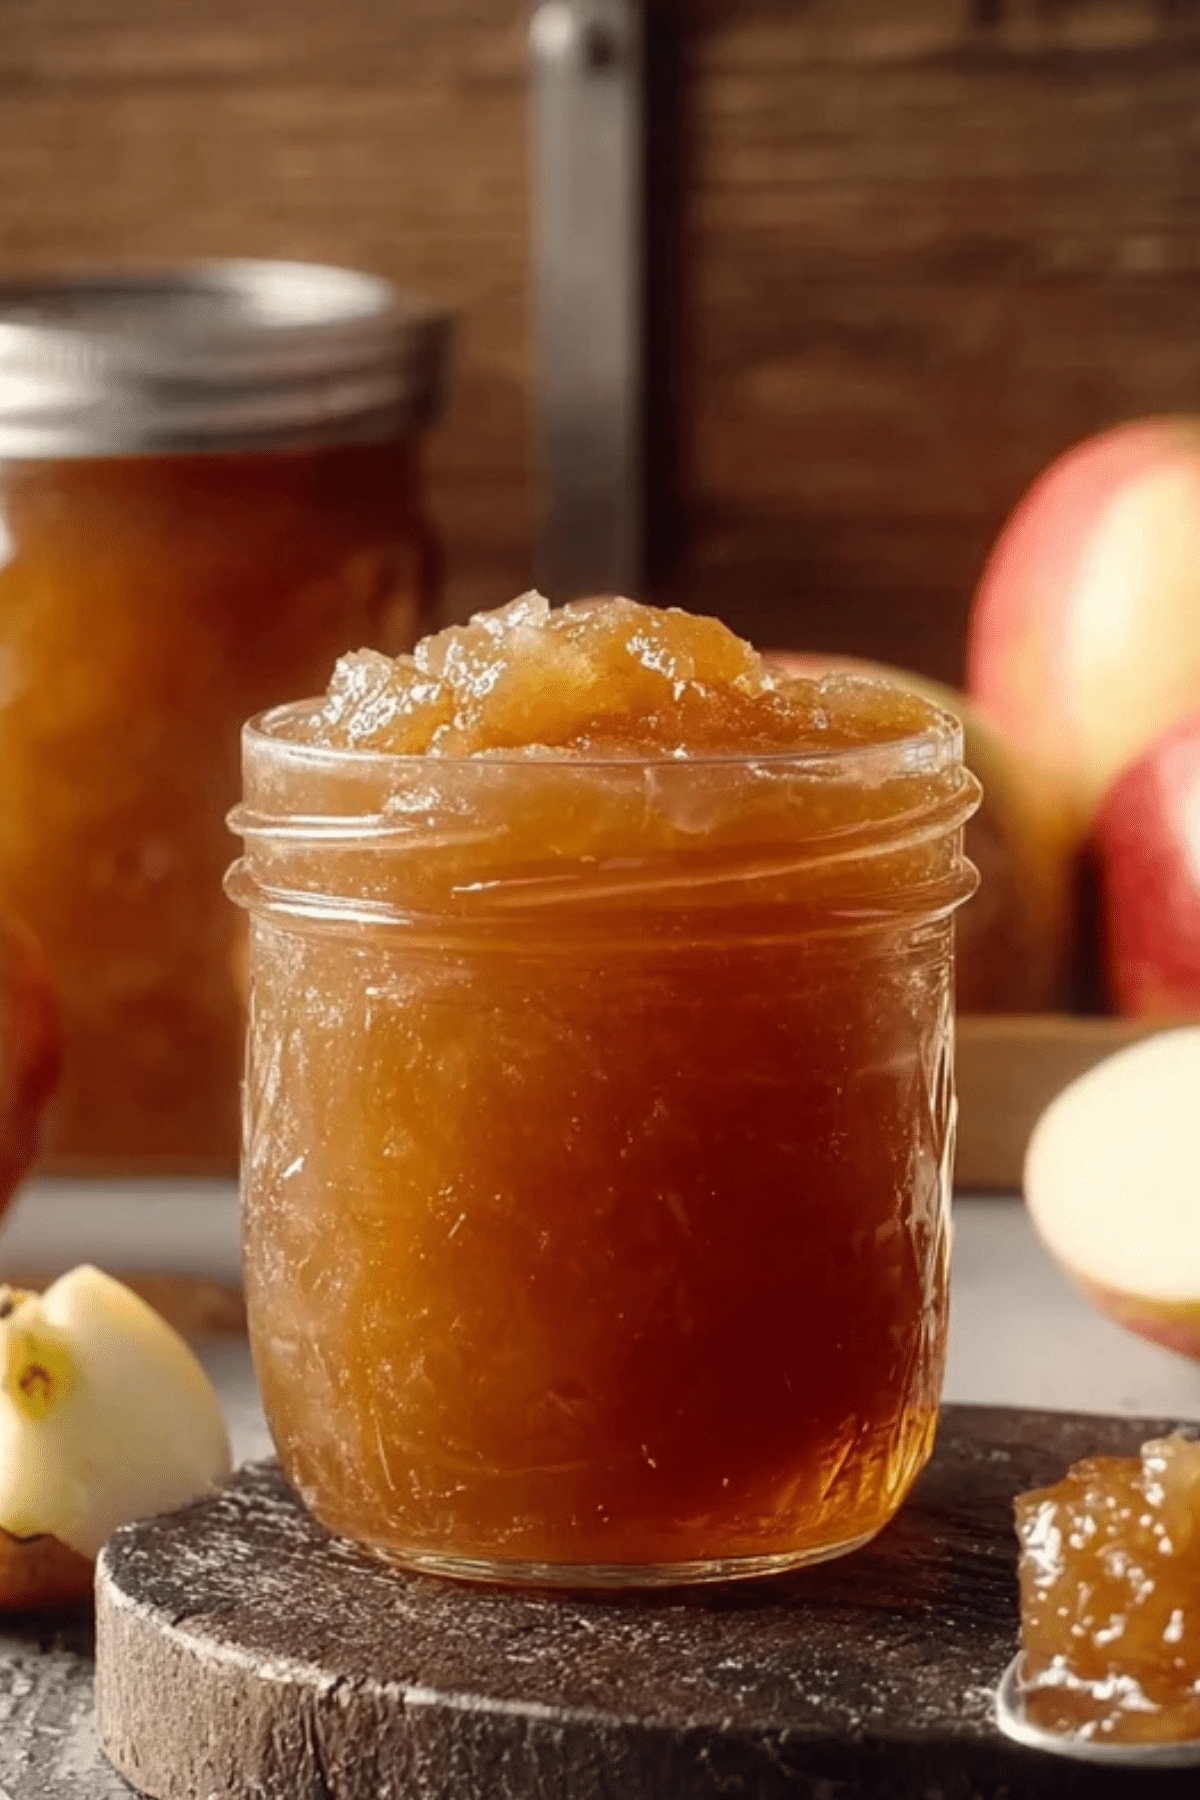
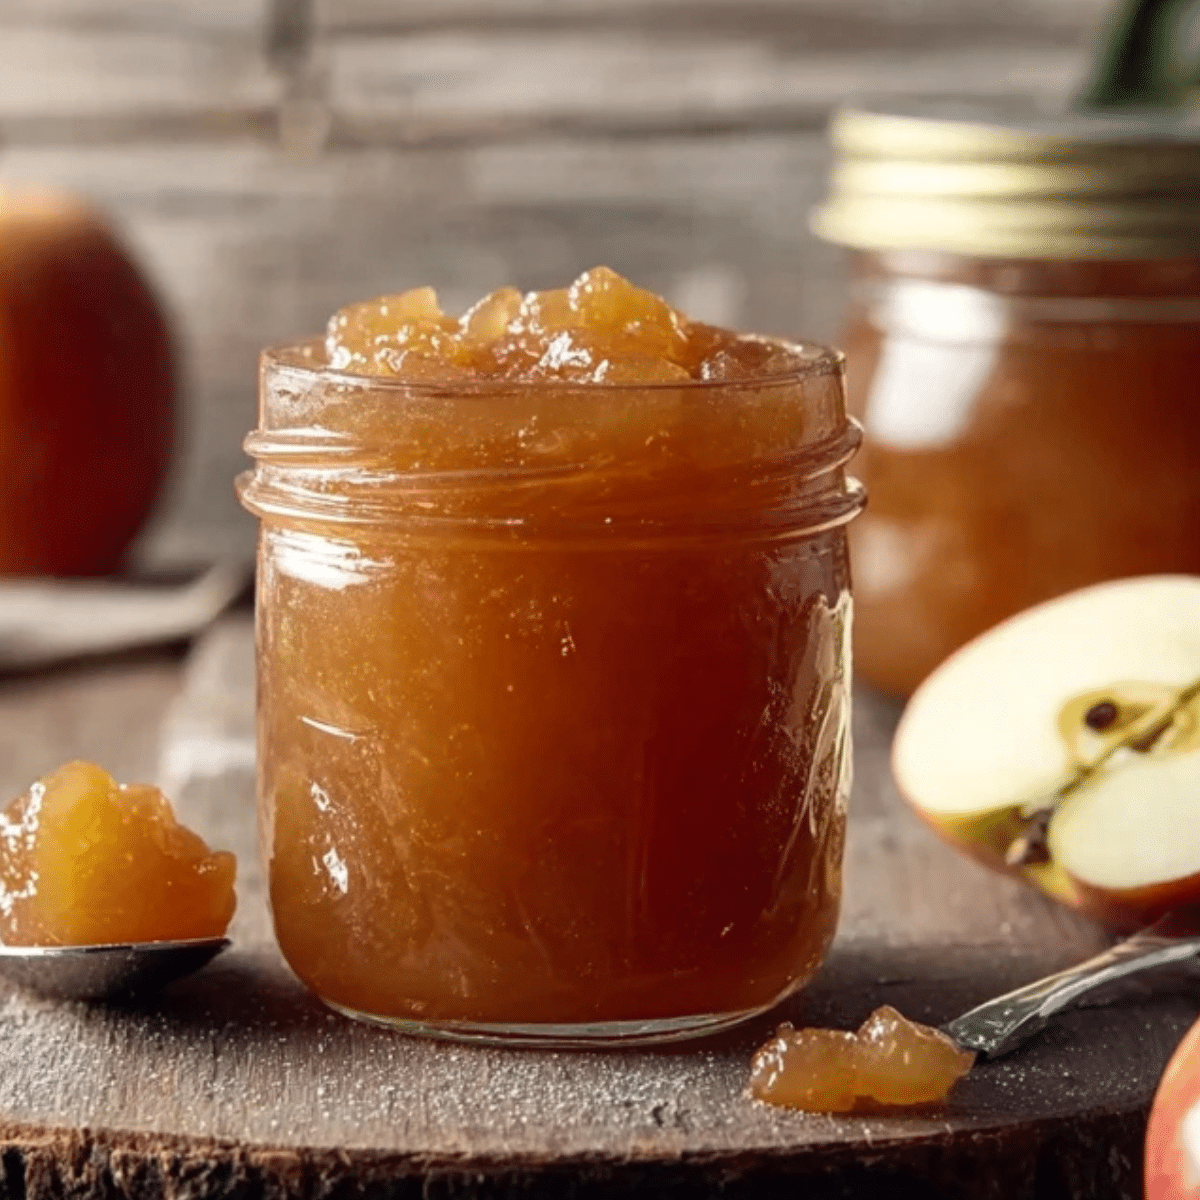
As the crisp air of autumn settles in and leaves turn golden, there’s no better way to savor the season than with a batch of Homemade Apple Jam. This simple, rustic preserve captures the warm essence of fall using just apples, sugar, and lemon juice. Whether you’re spreading it on morning toast, spooning it over yogurt, or using it as a glaze for roasted meats, homemade apple jam is a sweet and tangy treat that’s surprisingly easy to make — and brimming with flavor.
Table of Contents
Why Homemade Apple Jam is Worth Making
Homemade apple jam stands out from apple butter or jelly due to its chunky texture and rich, fruity bite. Unlike overly processed spreads, this jam is full of real fruit pieces and natural apple flavor. Thanks to apples’ naturally high pectin content, you can skip the store-bought pectin and still get that perfect gel consistency — making this recipe both wholesome and budget-friendly. It’s not only delicious but also rich in dietary fiber, antioxidants, and vitamin C, especially with the addition of lemon juice.
This jam is a great option for preserving seasonal produce, reducing waste, and adding a homemade touch to your pantry or holiday gifting.
What You’ll Need to Make Apple Jam
• Apple: The star of the show, they provide flavor, texture, and natural pectin for setting the jam
• Granulated Sugar: Balances the tartness, helps with preservation, and creates that syrupy texture
• Lemon Juice: Boosts flavor brightness and provides acidity necessary for safe canning and natural gelling
Ingredient Substitutions & Creative Swaps
• Different Apple Varieties: Use Granny Smith for a tangy twist or Fuji for extra sweetness
• Cane Sugar or Honey: Swap granulated sugar with raw cane sugar or honey for a deeper or floral sweetness (note: honey will alter consistency)
• Citrus Alternatives: If lemon juice isn’t available, try lime juice or even a splash of apple cider vinegar for acidity
• Spices: Add a pinch of cinnamon, cloves, or nutmeg for a spiced apple jam version perfect for fall
How to Make Homemade Apple Jam: Step-by-Step
- Prep the Apples: Peel, core, and dice 4 pounds of apples (about 16 cups). Cut into ¼ to ½-inch chunks for that perfect chunky texture.
- Macerate: In a large bowl, mix the diced apples with 4 cups of sugar and ½ cup of lemon juice. Stir gently, then cover and refrigerate for at least 4 hours, or overnight. This step draws out the juice and begins breaking down the apples.
- Get Ready to Cook: Place a small plate in the freezer — this will be used later to test the jam’s gel consistency.
- Boil the Syrup: Strain the macerated fruit to separate the liquid. Bring this liquid to a boil in a large saucepan.
- Cook the Fruit: Add the reserved apple chunks back into the boiling syrup. Cook over medium-high heat for 20 to 30 minutes, stirring occasionally to prevent burning.
- Test the Gel: Drop a small spoonful of jam on the chilled plate. Place it back in the freezer for 1 minute. If the jam wrinkles when you push it with your finger, it’s ready. If not, keep cooking and test every 5 minutes.
- Jar It Up: Fill sterilized jars with the hot jam, leaving ¼-inch headspace at the top.
- Water Bath Canning: Process the jars in a water bath for 10 minutes. Let them sit in the hot water for 5 additional minutes before removing.
- Cool and Store: Allow jars to cool fully. Check the seals — any unsealed jars should be refrigerated and consumed within a few weeks.

Kitchen Tips for the Best Homemade Apple Jam
• Cut Uniform Chunks: This ensures even cooking and a balanced texture
• Don’t Skip the Chill Test: It’s the most reliable way to get that perfect jam set
• Use a Wide Pot: More surface area helps the liquid evaporate faster and thickens the jam more efficiently
• Avoid Overcooking: Once thickened, remove from heat — overcooking can darken and dull the flavor
• Sterilize Jars Properly: This is essential for long shelf life and food safety
Serving Suggestions and Flavor Variations
• On Toast or Scones: The classic use — warm bread, a pat of butter, and a spoonful of apple jam
• Yogurt & Oatmeal Topping: Add sweetness and texture to your breakfast bowl
• Pastry Filling: Use in hand pies, tarts, or thumbprint cookies
• Glaze for Meat: Brush over pork chops or chicken for a sweet-savory finish
• Add Spices: Make a spiced version with cinnamon, cardamom, or ginger
• Spicy Apple Jam: Add a pinch of chili flakes or a diced jalapeño for a unique kick
• Low-Sugar Version: Reduce sugar and cook longer for a more fruit-forward preserve
Seasonal & Health Benefits of Apple Jam
Autumn is peak apple season, making now the perfect time to make homemade apple jam. Not only does it extend the shelf life of fresh apples, but it also lets you enjoy the health benefits of apples year-round. Apples are a great source of fiber and plant compounds that support heart health and digestion. Plus, homemade versions allow you to control sugar levels and avoid preservatives.
Wrapping Up: Why Homemade Apple Jam Belongs in Your Pantry
Making Homemade Apple Jam from scratch is more than a delicious endeavor — it’s a way to capture the essence of fall in every jar. With minimal ingredients, natural sweetness, and endless ways to enjoy it, this jam is the perfect seasonal preserve that brings warmth and comfort to your kitchen all year long. Whether you’re a seasoned canner or just dipping your toes into preserving, this recipe delivers satisfaction, flavor, and a taste of tradition. So grab those apples, and start simmering your next favorite spread.
Frequently Asked Questions About Homemade Apple Jam
How long does homemade apple jam last?
When properly sealed in sterilized jars and stored in a cool, dark place, homemade apple jam can last up to 12 months unopened. Once opened, keep it in the refrigerator and use it within 3–4 weeks for the best flavor and texture.
Can I make this apple jam without sugar?
Yes, but sugar helps with preservation and texture. For a low-sugar version, use no-sugar pectin or cook the apples longer to achieve a similar consistency. Note that the shelf life will be shorter, so refrigerate and consume within a few weeks.
What’s the best type of apple to use for this recipe?
You can use almost any apple variety, but a mix of sweet and tart apples creates the best flavor balance. Try combining Honeycrisp with Granny Smith for a sweet-tangy result with great texture.
Do I need pectin to make this jam?
No — this homemade apple jam recipe doesn’t require added pectin. Apples are naturally high in pectin, especially when slightly underripe, so they set beautifully with just lemon juice and sugar.
More Relevant Recipes
- Peach Bacon Jam: This sweet and savory jam is a delightful variation for fans of fruit-based spreads like homemade apple jam. It combines juicy peaches with crispy bacon, creating a rich flavor ideal for toast, burgers, or cheese boards.
- Apple Pie Snickerdoodles: These cookies blend cinnamon-spiced apples into soft, chewy snickerdoodles. A great companion to homemade apple jam, they celebrate the warm, comforting flavors of fall in a handheld treat.
- Easy Apple Crisp Bars: Featuring a crumbly oat topping and apple filling, these bars are another autumn-inspired dessert that showcases apples beautifully. Pair them with a spoonful of homemade apple jam for extra indulgence.

Homemade Apple Jam
- Total Time: 6 hours
- Yield: 6-8 half-pint jars
- Diet: Vegetarian
Description
This Homemade Apple Jam captures the cozy flavors of fall using just three ingredients—apples, sugar, and lemon juice. With a naturally chunky texture and no added pectin, this old-fashioned preserve is easy to make and perfect for toast, pastries, or even as a savory glaze.
Ingredients
- 4 lbs apples (about 16 cups diced): provides flavor, texture, and natural pectin
- 4 cups granulated sugar: adds sweetness and preserves the jam
- 1/2 cup lemon juice: enhances flavor and adds acidity for natural gel
Instructions
- Peel, core, and dice the apples into 1/4 to 1/2-inch chunks.
- In a large bowl, combine the diced apples, sugar, and lemon juice. Stir gently to mix.
- Cover and refrigerate the mixture for at least 4 hours or overnight to macerate.
- Before cooking, place a small plate in the freezer to test the jam’s gel later.
- Strain the apple mixture, reserving the liquid. Pour the liquid into a large saucepan and bring to a boil.
- Add the reserved apple chunks to the boiling syrup and cook over medium-high heat for 20–30 minutes, stirring occasionally.
- To test the gel, place a spoonful of jam on the frozen plate. Return it to the freezer for 1 minute. Push it with your finger—if it wrinkles, it’s ready. If not, cook 5 more minutes and retest.
- Once gelled, remove from heat and fill sterilized jars with the hot jam, leaving 1/4-inch headspace.
- Process the jars in a water bath canner for 10 minutes, then let sit for 5 more minutes in the water before removing.
- Cool jars completely, then check seals before storing.
Notes
- Use a mix of sweet and tart apples for best flavor.
- Don’t skip the gel test—overcooked jam can become too thick.
- Store sealed jars in a cool, dark place for up to 12 months.
- Refrigerate opened jars and use within 3–4 weeks.
- Prep Time: 5 hours
- Cook Time: 1 hour
- Category: Preserves
- Method: Canning
- Cuisine: American
Nutrition
- Serving Size: 1 tablespoon
- Calories: 45
- Sugar: 11g
- Sodium: 0mg
- Fat: 0g
- Saturated Fat: 0g
- Unsaturated Fat: 0g
- Trans Fat: 0g
- Carbohydrates: 12g
- Fiber: 0.3g
- Protein: 0g
- Cholesterol: 0mg

