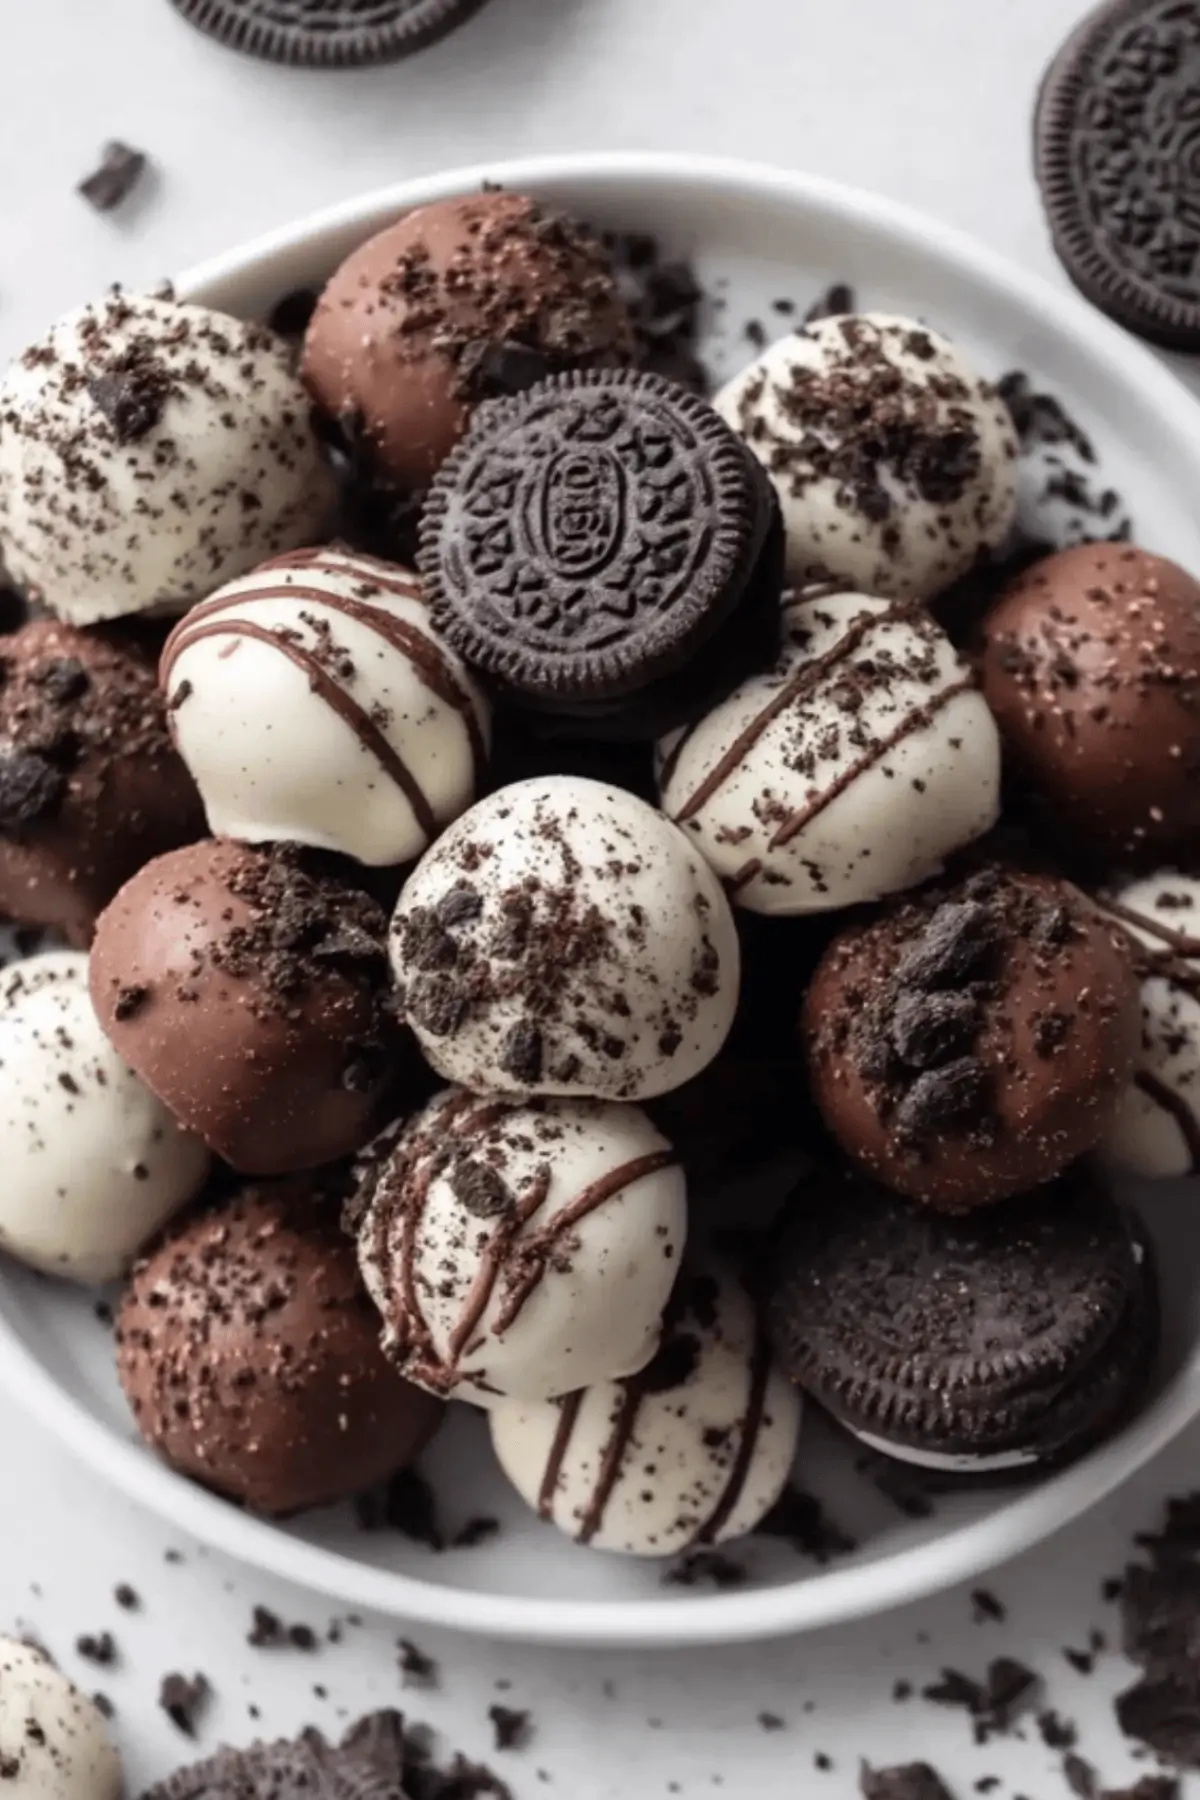
There’s something magical about that first bite into an Oreo ball—creamy, chocolatey, and so satisfying. I still remember the first time I made these for a holiday party. I had no baking experience and was terrified of ruining dessert. But with just a few ingredients and no oven involved, they turned out beautifully—and disappeared from the dessert table in minutes.
This easy sheet pan dinner of the dessert world—if you will—is the perfect starting point for anyone who’s just dipping their toes into the world of homemade sweets. It’s incredibly simple, doesn’t require baking, and delivers gourmet-level satisfaction with minimal effort. Whether you’re prepping for a party, giving homemade gifts, or simply craving a quick and healthy meal (ok, emotionally healthy counts!), this recipe is a go-to crowd pleaser.

Why These Oreo Balls Are Special
What makes this lemon herb chicken recipe (ok, in this case, chocolatey Oreo recipe!) stand out isn’t just its simplicity—it’s the flexibility. With just three main ingredients, you’ve got room to get creative. These treats can be customized with different coatings, toppings, or even Oreo flavors. And the best part? They’re practically fail-proof. You don’t need a mixer, food processor, or oven to pull this off.
This recipe is designed with beginner cooks in mind, focusing on steps that anyone can follow. Plus, it’s the kind of sweet you can make ahead, store in the fridge, and enjoy all week.
Ingredients and Preparation
Oreo Cookies
These form the rich, chocolatey base of your Oreo balls. Use classic Oreos with the filling still intact—no need to scrape anything off. They offer sweetness, texture, and that iconic cookies-and-cream flavor. You can also swap them out for Golden Oreos, mint, or even gluten-free versions.
Cream Cheese (Brick-Style)
This binds the crushed cookies into a soft, creamy truffle-like texture. It adds tanginess to balance the sweet chocolate. Be sure to use full-fat, brick-style cream cheese—not the whipped or tub variety—which is too soft and won’t hold the mixture together well.
Chocolate (Semi-Sweet, Milk, or White)
This is your outer shell. Melting chocolate gives the Oreo balls their professional finish and adds a luscious bite. You can go classic with semi-sweet or mix it up with white or dark chocolate. Candy melts also work if you want bright colors or easier coating.
Optional Toppings
Crushed Oreos, sprinkles, sea salt, or a drizzle of contrasting chocolate. These add texture and make your dessert pop visually.
Step-by-Step Instructions
Step 1 Start by crushing the Oreos into fine crumbs. If you have a food processor or blender, pulse the cookies until they resemble damp sand. No processor? Toss them in a zip-top bag and smash them with a rolling pin. Just don’t forget to set aside a spoonful or two of crumbs for decoration.
Step 2 Transfer the cookie crumbs to a mixing bowl. Add softened brick-style cream cheese. Mix with a spoon, spatula, or hand mixer until a thick dough forms—there should be no visible streaks of cream cheese.
Step 3 Use a tablespoon to scoop out portions of the mixture. Roll each one into a ball with your hands and place them on a baking sheet lined with parchment paper. This keeps them from sticking and makes clean-up easier.
Step 4 Freeze the Oreo balls for 20 minutes. This firms them up so they won’t fall apart when dipped in warm chocolate.
Step 5 While they chill, melt your chocolate in a microwave-safe bowl, heating in 20-second intervals and stirring each time. You want it smooth and pourable—not scorched.
Step 6 Using a fork, lower each Oreo ball into the melted chocolate. Coat completely, then lift and tap off excess chocolate. Gently slide each ball back onto the parchment paper.
Step 7 While the chocolate is still wet, sprinkle on your reserved cookie crumbs or other toppings. Then return the tray to the fridge until the coating is firm—about 20 more minutes.
Beginner Tips and Notes
If your Oreo balls feel too soft to dip, just chill them a little longer. Don’t rush the freezing step—it helps everything stay intact.
Avoid using low-fat or whipped cream cheese. These won’t give the structure you need, and your mixture will likely fall apart or feel too sticky.
No microwave? Melt your chocolate using a double boiler on the stove: simmer water in a pot and place a heat-safe bowl with chocolate on top, stirring until smooth.
Don’t skip parchment paper—it prevents sticking and saves you a mess.
Serving Suggestions
Pair your Oreo balls with a warm drink like coffee, chai, or hot chocolate for a cozy treat. You can also serve them as part of a dessert board with fresh fruit, nuts, and other bite-sized sweets.
Want to make them gift-ready? Pop them into mini cupcake liners and place them in a decorative tin or box.
For leftovers, store Oreo balls in an airtight container in the fridge for up to 5 days. You can also freeze them for up to 3 months—just thaw overnight in the fridge before serving.
Conclusion
If you’ve never made dessert before, Oreo Balls are a fantastic place to start. They’re a quick and healthy meal for your sweet tooth (let’s not argue semantics), easy to personalize, and impossible to mess up. Whether you’re baking with kids, prepping for a potluck, or indulging in a little self-care, this no-bake recipe brings joy in every bite.
Try it out and let me know how it goes! I’d love to hear your twist—did you go minty? White chocolate? Sprinkled in sea salt? Drop your experience in the comments and inspire someone else to give it a shot too.
FAQ About No-Bake Oreo Balls
Yes! Simply place the Oreos in a sealed zip-top bag and crush them with a rolling pin until they become fine crumbs. It takes a bit more effort but works just as well.
It’s not recommended. Low-fat or whipped cream cheese has a higher moisture content and softer texture, which can cause the mixture to be too runny and hard to shape.
They stay fresh in the fridge for up to 5 days. You can also freeze them in an airtight container for up to 3 months. Thaw overnight in the refrigerator before serving.
Absolutely! Golden Oreos, mint, peanut butter, or gluten-free varieties all work wonderfully. Just make sure to use the full cookie, including the filling.
More Relevant Recipes
- Oreo Balls for Christmas: A Festive No-Bake Treat!
- Cookies and Cream Cinnamon Rolls
- Heavenly Oreo Dessert

No-Bake Oreo Balls
- Total Time: 1 hour 10 minutes
- Yield: 36 Oreo balls
- Diet: Vegetarian
Description
These easy no-bake Oreo balls are made with just 3 ingredients and are perfect for beginner cooks. A delicious, customizable treat ideal for parties, holidays, or gifting.
Ingredients
- 36 regular Oreo cookies
- 1 (8-ounce) brick-style cream cheese, softened
- 16 ounces chocolate (semi-sweet, milk, or white)
- Optional: sprinkles, crushed Oreos, or sea salt for topping
Instructions
- Crush the Oreo cookies into fine crumbs using a food processor or by placing them in a zip-top bag and smashing with a rolling pin. Reserve 1–2 tablespoons of crumbs for topping.
- In a large mixing bowl, combine the Oreo crumbs and softened cream cheese. Mix until fully combined and a thick dough forms.
- Using a tablespoon, scoop the mixture and roll into balls with your hands. Place on a parchment-lined baking sheet.
- Freeze the Oreo balls for 20 minutes to firm them up before coating in chocolate.
- While the balls chill, melt the chocolate in a microwave-safe bowl in 20-second increments, stirring between each until smooth.
- Dip each Oreo ball in the melted chocolate using a fork. Tap off excess chocolate and place the coated ball back on the parchment paper.
- Sprinkle reserved cookie crumbs or toppings on while the chocolate is still wet.
- Refrigerate the Oreo balls for at least 20 minutes or until the chocolate sets. Serve and enjoy!
Notes
- Use full-fat, brick-style cream cheese for best results. Avoid whipped or tub varieties.
- If you don’t have a food processor, a rolling pin and zip-top bag work fine for crushing cookies.
- To prevent sticking, always use parchment paper when chilling or dipping the balls.
- Try different Oreo flavors for fun variations—mint, golden, peanut butter, or even gluten-free.
- Store in an airtight container in the fridge for up to 5 days, or freeze for up to 3 months.
- Prep Time: 30 minutes
- Cook Time: 0 minutes
- Category: Dessert
- Method: No-Bake
- Cuisine: American
Nutrition
- Serving Size: 1 Oreo ball
- Calories: 110
- Sugar: 8g
- Sodium: 75mg
- Fat: 6g
- Saturated Fat: 3.5g
- Unsaturated Fat: 2g
- Trans Fat: 0g
- Carbohydrates: 13g
- Fiber: 0.5g
- Protein: 1g
- Cholesterol: 5mg

