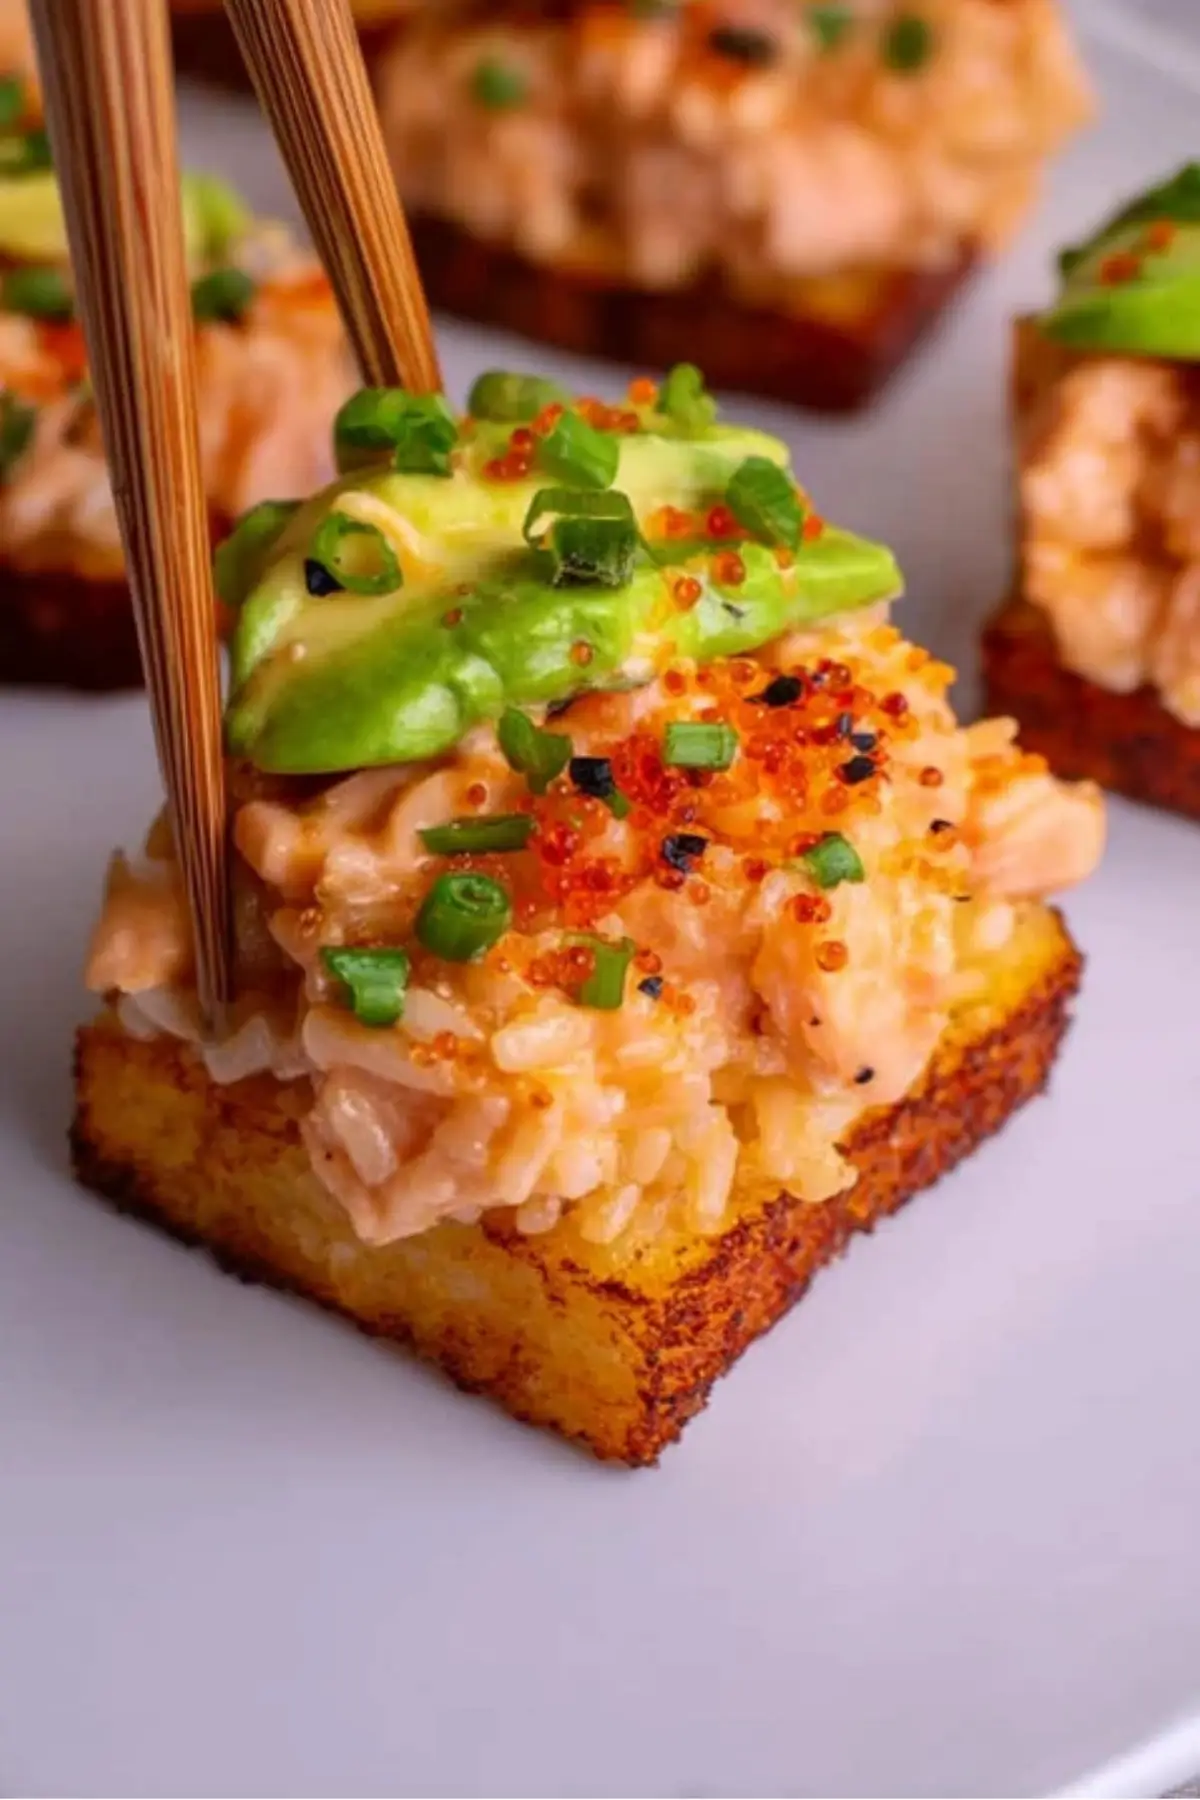
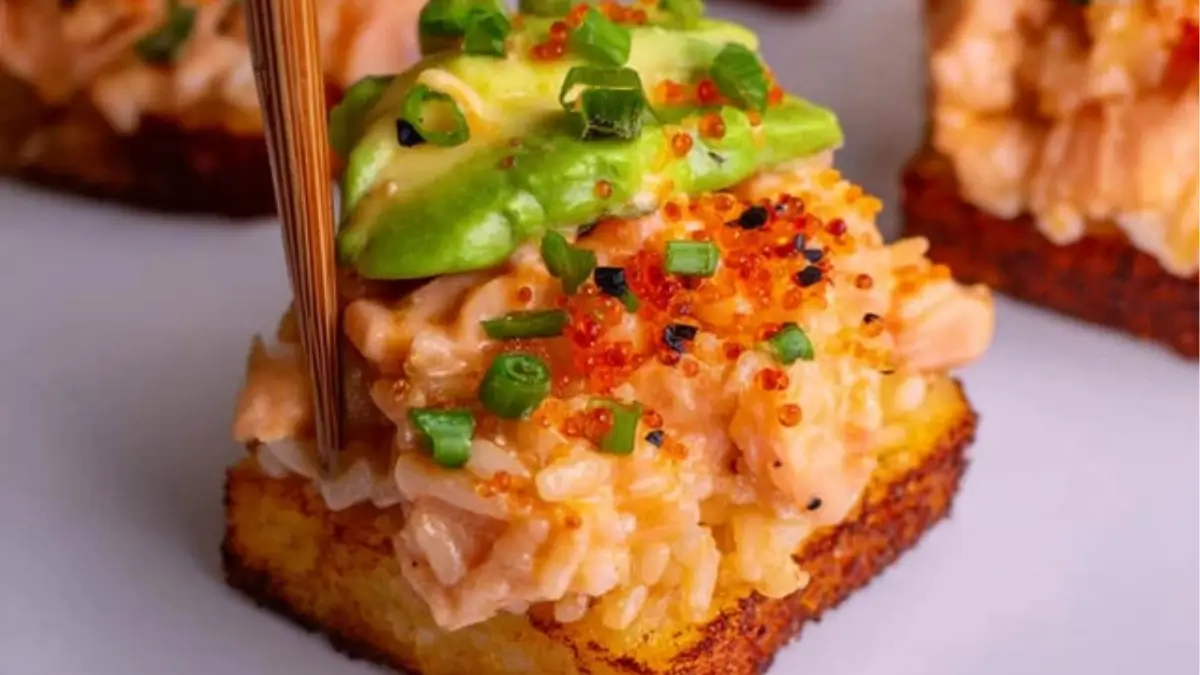
A few months ago, I had my first taste of crispy rice with spicy salmon at a friend’s casual dinner party. What struck me wasn’t just the restaurant-worthy flavor but how approachable it felt—even for someone who hadn’t cooked anything more complex than scrambled eggs. The contrast between golden, crunchy rice and the creamy kick of spicy salmon was unforgettable. I went home that night determined to recreate it. Several test batches later, I’ve landed on a beginner-friendly version that anyone can pull off.
Whether you’re just learning your way around the kitchen or looking for a quick and healthy appetizer that impresses, this easy sheet pan dinner alternative offers the perfect combination of texture, bold flavor, and simplicity. You don’t need fancy tools or sushi-rolling skills—just a few pantry staples, patience, and a skillet.

Why This Recipe is Special
This dish is the home-cook version of a sushi restaurant favorite that went viral for a reason. Instead of rolling sushi (which can be intimidating), you shape cooked rice into small rectangles, chill them, and then pan-fry until the outside is golden and crunchy. That crispy base gets topped with a spicy salmon mixture that’s creamy, flavorful, and rich in healthy fats.
What makes this recipe perfect for beginners:
- No special equipment needed: No sushi mat, no deep fryer.
- Make-ahead friendly: You can prep the rice and salmon mixture in advance.
- Flexible ingredients: Many swaps are possible depending on what’s in your fridge.
- Packed with nutrients: Salmon is high in protein and omega-3s, while the rice offers satisfying carbs.
Ingredients and Preparation
Cooked Sushi Rice
Short-grain sushi rice is ideal here because it sticks together, making it easy to shape and fry. It also develops a lovely golden crust when pan-fried.
Alternative: Jasmine rice or any sticky rice can work in a pinch, though texture may vary.
Rice Vinegar, Sugar, and Salt
This trio seasons the rice, balancing its starchiness with a subtle sweet-sour tang.
Alternative: Apple cider vinegar can sub in for rice vinegar, with a touch more sugar.
Vegetable Oil
Used to pan-fry the rice until golden and crispy. A neutral oil like canola or avocado oil works best.
Alternative: Light olive oil if that’s what you have.
Sushi-Grade Salmon
The star of the topping—chopped raw salmon mixed into a spicy, creamy blend.
Alternative: Smoked salmon or cooked salmon flakes for a no-raw-fish option.
Kewpie Mayonnaise
A rich, umami Japanese mayo that makes the salmon mixture silky and savory.
Alternative: Regular mayo with a pinch of sugar and rice vinegar.
Sriracha, Soy Sauce, and Sesame Oil
These give the salmon topping its signature spicy, nutty, and salty flavors.
Alternative: Chili garlic sauce instead of sriracha, tamari for soy sauce.
Green Onions (Scallions)
Adds freshness and a mild crunch to the topping.
Alternative: Chives or finely diced red onion.
Avocado (Optional)
For creaminess and color—sliced or mashed onto the crispy rice.
Alternative: Leave it out, or try a smear of guacamole.
Jalapeño (Optional)
Thinly sliced for heat and a sharp bite on top.
Alternative: Red chili slices or crushed red pepper flakes.
Toasted Sesame Seeds
Adds texture and a nutty aroma to the finished bite.
Alternative: Crushed roasted peanuts or furikake seasoning.
Step-by-Step Instructions
Step 1
Cook sushi rice according to package instructions. While it’s still warm, stir in a mixture of rice vinegar, sugar, and salt until evenly distributed. This seasons the rice while enhancing its natural stickiness.
Step 2
Line a small baking sheet or dish with plastic wrap. Spread the seasoned rice into an even 1-inch layer, pressing it down firmly. Cover and refrigerate for at least 4 hours or overnight. This helps the rice firm up, making it easier to cut and fry.
Step 3
In a mixing bowl, combine finely chopped sushi-grade salmon with Kewpie mayo, sriracha, soy sauce, sesame oil, and chopped green onions. Stir until creamy and cohesive. Taste and adjust spice levels as desired. Cover and refrigerate until ready to use.
Step 4
Once the rice is well chilled, remove from the fridge and cut into small rectangles or squares (around 1.5×2 inches). Aim for even shapes so they cook uniformly.
Step 5
Heat a layer of vegetable oil in a non-stick skillet over medium heat. To test if the oil is hot enough, drop in a single grain of rice—if it sizzles immediately, it’s ready. Add rice rectangles in batches and fry for 2–3 minutes per side or until golden and crispy. Transfer to a paper towel-lined plate to drain excess oil.
Step 6
To assemble, layer each crispy rice piece with a slice or smear of avocado (optional), a spoonful of spicy salmon, and a thin slice of jalapeño. Finish with a sprinkle of sesame seeds. Serve immediately for maximum crunch.
Beginner Tips and Notes
- Rice falling apart? It likely wasn’t chilled long enough. Let it firm up in the fridge for at least 4 hours.
- Oil not sizzling? Your pan isn’t hot enough. Wait until a test grain of rice sizzles on contact.
- Don’t overcrowd the skillet. Fry in batches so each piece gets evenly crispy.
- No non-stick pan? Lightly grease a stainless steel pan and avoid flipping too early—wait until a solid crust forms.
- Spicy level too much? Use less sriracha or swap it for sweet chili sauce.
- No sushi-grade salmon? Use cooked salmon or smoked salmon to stay safe.
Serving Suggestions
This dish makes a stunning appetizer on its own, but here are a few ideas to round it out:
- Serve with: Seaweed salad, edamame, or a simple miso soup.
- Sauce it up: A drizzle of soy glaze or ponzu sauce on top adds a salty-sweet contrast.
- Leftovers: Store assembled bites for no more than a few hours (the rice loses crispiness). Store rice and salmon separately for up to 2 days in the fridge and reassemble when ready.
Conclusion
Now that you’ve got a foolproof method for making Salmon Crispy Rice at home, I hope you give it a shot and see just how fun and satisfying cooking can be. It’s a beginner-friendly showstopper—whether you’re hosting friends or treating yourself. If you try it, drop your experience in the comments below. What topping did you add? How did it go?
Let’s make kitchen wins together, one crispy bite at a time.
FAQ About Salmon Crispy Rice
Yes, you can shape and chill the rice up to 24 hours in advance. For best results, fry it just before serving to maintain its crisp texture.
No problem. You can use cooked salmon, canned salmon, or even smoked salmon for a safe and delicious alternative with a slightly different flavor.
Drop in a grain of rice—if it sizzles immediately, the oil is ready. This ensures the rice crisps quickly without absorbing too much oil.
Absolutely. Just omit or reduce the sriracha in the salmon mix. You can also replace it with a dash of soy sauce or a bit of sweet chili sauce for mild heat.
More Relevant Recipes
Print
Salmon Crispy Rice
- Total Time: 4 hours 45 minutes
- Yield: 16 pieces
- Diet: Halal
Description
A beginner-friendly salmon crispy rice recipe that combines golden pan-fried rice with creamy, spicy salmon topping. Perfect for easy appetizers or quick and healthy meals.
Ingredients
- 3 cups cooked sushi rice (short grain)
- 2 tbsp rice vinegar
- 1 tbsp sugar
- 1 tsp salt
- Vegetable oil, for frying
- 1 lb sushi-grade salmon, finely chopped
- 4 tbsp Kewpie mayonnaise
- 2 tbsp sriracha
- 2 tbsp scallions, chopped
- 2 tsp soy sauce
- 2 tsp sesame oil
- Sliced avocado (optional)
- Thinly sliced jalapeño (optional)
- Black and white sesame seeds, toasted
Instructions
- Cook sushi rice according to package directions. While warm, stir in rice vinegar, sugar, and salt until evenly combined.
- Transfer seasoned rice to a plastic wrap-lined dish, press into a flat layer, cover, and chill for at least 4 hours or overnight.
- In a bowl, mix chopped sushi-grade salmon with Kewpie mayo, sriracha, soy sauce, sesame oil, and scallions. Cover and chill until ready to use.
- Remove chilled rice and cut into small rectangles. Heat vegetable oil in a skillet over medium heat. Test with a grain of rice—if it sizzles, it’s ready.
- Fry rice rectangles in batches until both sides are golden and crispy. Drain on a paper towel-lined plate.
- Top each crispy rice piece with optional avocado, a spoonful of spicy salmon, and jalapeño slice. Sprinkle with sesame seeds and serve immediately.
Notes
- Chill rice thoroughly to make cutting easier and prevent crumbling during frying.
- Use a non-stick skillet to achieve a crisp finish without sticking.
- Adjust sriracha to your spice preference or substitute with sweet chili sauce for a milder flavor.
- If sushi-grade salmon is unavailable, substitute with cooked or smoked salmon.
- Fry in batches to avoid overcrowding and maintain even browning.
- Prep Time: 15 minutes
- Cook Time: 30 minutes
- Category: Appetizer
- Method: Pan-Fried
- Cuisine: Japanese Fusion
Nutrition
- Serving Size: 2 pieces
- Calories: 220
- Sugar: 2g
- Sodium: 280mg
- Fat: 14g
- Saturated Fat: 2.5g
- Unsaturated Fat: 9g
- Trans Fat: 0g
- Carbohydrates: 16g
- Fiber: 1g
- Protein: 10g
- Cholesterol: 25mg

