
The first time I made homemade pizza, I expected it to be a simple task—mix some flour, water, and yeast, and voilà, pizza dough! But my results were far from the airy, crispy, and flavorful crust I had dreamed of. It was dense, lacked flavor, and simply didn’t have that signature chew. After many trials and errors, I discovered the secret: high hydration, long fermentation, and a scorching hot baking surface. If you’ve ever wanted to make restaurant-quality pizza at home, this artisan pizza dough recipe is for you.
This recipe is perfect for beginners because it’s forgiving, requires no complicated kneading, and delivers amazing results with minimal effort. Plus, the slow fermentation process enhances the dough’s depth of flavor while giving it that sought-after crispy and chewy texture. If you’re new to pizza-making, this is the best place to start.
Why This Recipe is Special
This artisan pizza dough stands out because it focuses on three essential factors:
- High Hydration – This dough contains a higher percentage of water than traditional pizza dough, leading to big bubbles, a chewy bite, and a tender crumb.
- Long Fermentation – Instead of rushing the process, this dough develops flavor slowly. You can ferment it for six hours at room temperature or refrigerate it for up to two days for even deeper taste.
- A Super-Hot Surface – A baking steel, pizza stone, or even an inverted baking sheet absorbs heat, helping create a crisp, blistered crust.
Unlike some pizza dough recipes that require specialty flour, this one is flexible. While using 00 flour is great for achieving a delicate chew, good-quality all-purpose flour works just as well.
Ingredients and Preparation
To create this artisan pizza dough, you’ll need:
- Flour – Provides the structure. All-purpose flour works well, but if available, 00 flour gives a more delicate texture.
- Water – Hydrates the dough, helping create a light, airy texture. Warm water (not too hot) helps yeast activate.
- Yeast – Just a small amount is enough for a slow rise, developing deep flavor.
- Salt – Enhances flavor and helps control yeast activity.
- Olive Oil (Optional) – While not required, a touch of olive oil can add elasticity to the dough.
Alternative Ingredients
- If you prefer whole wheat dough, swap in 25% whole wheat flour for a nuttier flavor.
- No yeast? Try a sourdough starter instead for a naturally fermented crust.
- Need a gluten-free option? Use a high-quality gluten-free flour blend, but be prepared for a different texture.
Step-by-Step Instructions
Step 1: In a large mixing bowl, combine the flour and most of the water, stirring until just combined. Cover and let it rest for 20 minutes to allow the flour to absorb the liquid.
Step 2: Sprinkle the yeast over the remaining water and let it dissolve. Add the yeast mixture and salt to the dough. Using your hands, gently fold the dough over itself multiple times until combined.
Step 3: After one hour, perform a series of folds to strengthen the dough. With wet hands, lift one side of the dough, stretch it upward, and fold it over itself. Rotate the bowl and repeat this process four to five times. Cover and let rise for five to six hours at room temperature or refrigerate for up to two days.
Step 4: Once the dough has doubled in size, transfer it to a floured surface and divide it into two equal portions. Shape each portion into a round ball by stretching the edges and folding them into the center.
Step 5: Let the dough rest for one hour at room temperature before using. If refrigerated, remove it 30 minutes before shaping.
Beginner Tips and Notes
- Sticky Dough? High-hydration dough can be tricky at first. Wetting your hands or using a little oil can prevent sticking.
- Fermentation Time Matters – If your kitchen is warm, the dough may rise faster; if it’s cold, it may take longer. Always go by feel rather than strictly by the clock.
- No Pizza Stone? Use an inverted baking sheet or a cast-iron pan preheated in the oven for similar results.
- Shaping Tip – Avoid overhandling the dough. The more you stretch and press, the more air bubbles you’ll lose.
Serving Suggestions
A great crust deserves great toppings. Here are some delicious ways to enjoy your artisan pizza:
- Classic Margherita – Fresh tomato sauce, mozzarella, and basil.
- Garlic Butter White Pizza – A creamy garlic base with ricotta and fresh herbs.
- Spicy Pepperoni – Add a drizzle of hot honey over crispy pepperoni slices.
- Wild Mushroom Truffle – Sautéed mushrooms with a sprinkle of truffle oil.
Storage Tips:
- Refrigerate – Store leftover dough in the fridge for up to 2 days, covered tightly in plastic wrap.
- Freeze – Freeze dough balls for up to 3 months. Thaw overnight in the fridge before using.
- Leftover Pizza? Reheat slices in a hot skillet for a crispy bottom crust.
Try It and Share Your Results
Making homemade pizza dough is a game-changer, and once you try this recipe, you’ll never go back to store-bought. If you give it a shot, let me know how it turned out! Leave a comment with your experience, your favorite toppings, or any tips you’ve discovered along the way. Happy pizza-making!
FAQ About Artisan Pizza Dough
A crispy crust requires a very hot baking surface. Use a preheated baking steel, pizza stone, or an inverted baking sheet. Baking at the highest oven temperature (around 500°F) also helps.
Yes, all-purpose flour works well in this recipe. 00 flour provides a slightly chewier texture, but all-purpose flour still creates a delicious, crispy, and airy crust.
High-hydration dough can feel sticky, but lightly wetting your hands or using a little olive oil will help. Avoid adding extra flour, as it can make the dough dense instead of light and airy.
Yes, this dough can be refrigerated for up to two days or frozen for up to three months. Let refrigerated dough sit at room temperature for 30 minutes before shaping.
More Relevant Recipes
Print
The Perfect Artisan Pizza Dough
- Total Time: About 6 hours 30 minutes (including fermentation)
- Yield: 2 pizza dough balls (makes two 12-inch pizzas)
Description
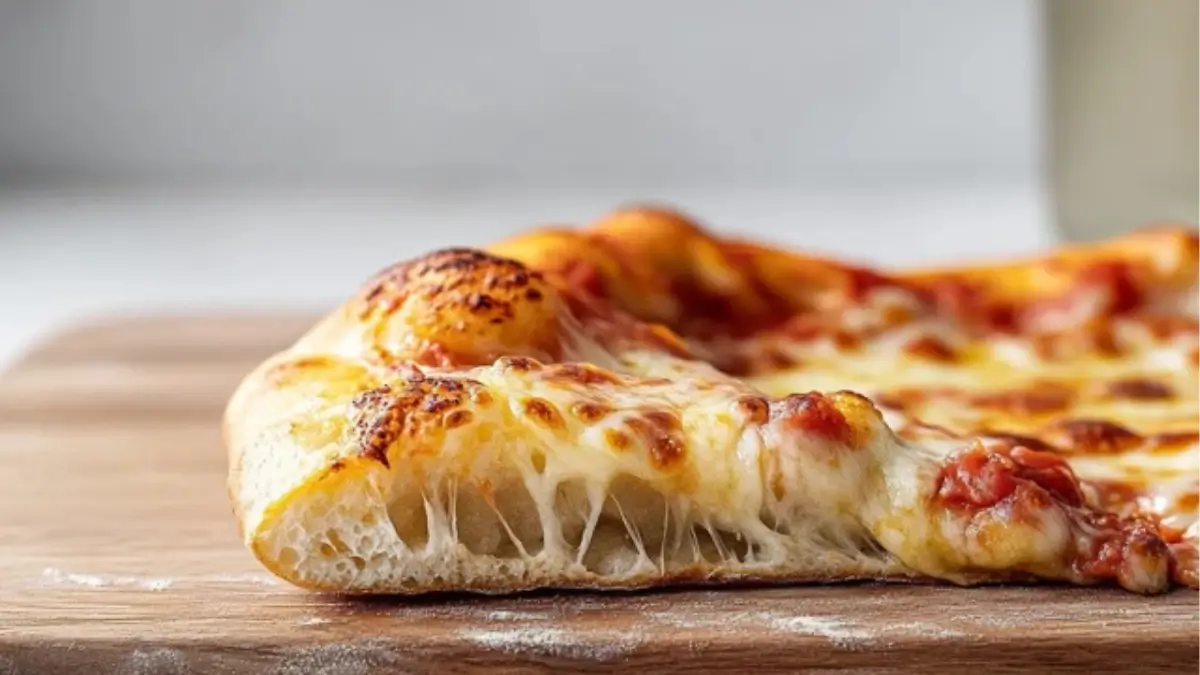
This artisan pizza dough creates a crispy, chewy, and airy crust with beautifully blistered bubbles. Using high hydration and a slow fermentation process, this dough develops deep flavor and perfect texture, making it the ultimate base for any homemade pizza.
Ingredients
- 3 ¾ cups plus 2 tbsp all-purpose flour (500g)
- 1 ½ cups plus 2 tbsp warm water, divided (375g)
- ¼ tsp active dry yeast (1g)
- 1 ½ tsp fine salt (10g)
Instructions
- Mix the flour and water: In a large mixing bowl, combine the flour with all but one tablespoon of the water, stirring until just incorporated. Cover and let the mixture rest for 20 minutes to allow the flour to absorb the liquid.
- Activate the yeast: Sprinkle the yeast over the remaining warm water and let it dissolve for a few minutes.
- Combine ingredients and develop the dough: Sprinkle the salt over the dough, then pour in the yeast mixture. Using wet hands, gently fold the dough over itself multiple times until all ingredients are well incorporated. Cover and let rest for about an hour.
- Strengthen the dough: With lightly wet hands, lift a section of the dough, stretch it upwards, and fold it over the center. Rotate the bowl and repeat this process four to five times to build structure. Cover the dough and let it ferment at room temperature for five to six hours, or refrigerate for up to two days for deeper flavor.
- Divide and shape: Transfer the dough to a floured surface and divide it into two equal portions. Gently shape each portion into a round ball by folding the edges inward. Cover and let them rest at room temperature for an hour before using.
- Prepare for baking: Preheat the oven to 500°F (or the highest setting) with a baking steel, pizza stone, or inverted baking sheet inside. Let the oven heat for at least 45 minutes to ensure a crispy crust.
- Shape and bake: Flatten one dough ball into a 12-inch round, leaving a thick edge for the crust. Place it on a floured pizza peel, add sauce and toppings, and slide it onto the hot baking surface. Bake for about five minutes, then broil for two to four minutes until the cheese is bubbly and the crust is golden brown with blistered spots. Repeat with the remaining dough.
Notes
- The dough will be sticky due to its high hydration. Wet hands or a bit of olive oil will help when handling it.
- If refrigerating the dough, let it sit at room temperature for about 30 minutes before shaping.
- For extra crispiness, let the baked pizza rest for a few minutes before slicing.
- Leftover dough can be stored in the refrigerator for up to two days or frozen for three months.
- Prep Time: 15 minutes (plus fermentation time)
- Cook Time: 10 minutes
- Category: Bread & Dough
- Method: Baking
- Cuisine: Italian
Nutrition
- Serving Size: ¼ of a 12″ pizza
- Calories: 228
- Sugar: 0.2g
- Sodium: 488mg
- Fat: 0.6g
- Saturated Fat: 0.1g
- Unsaturated Fat: 0.4g
- Trans Fat: 0g
- Carbohydrates: 48g
- Fiber: 1.7g
- Protein: 6.5g
- Cholesterol: 0mg